
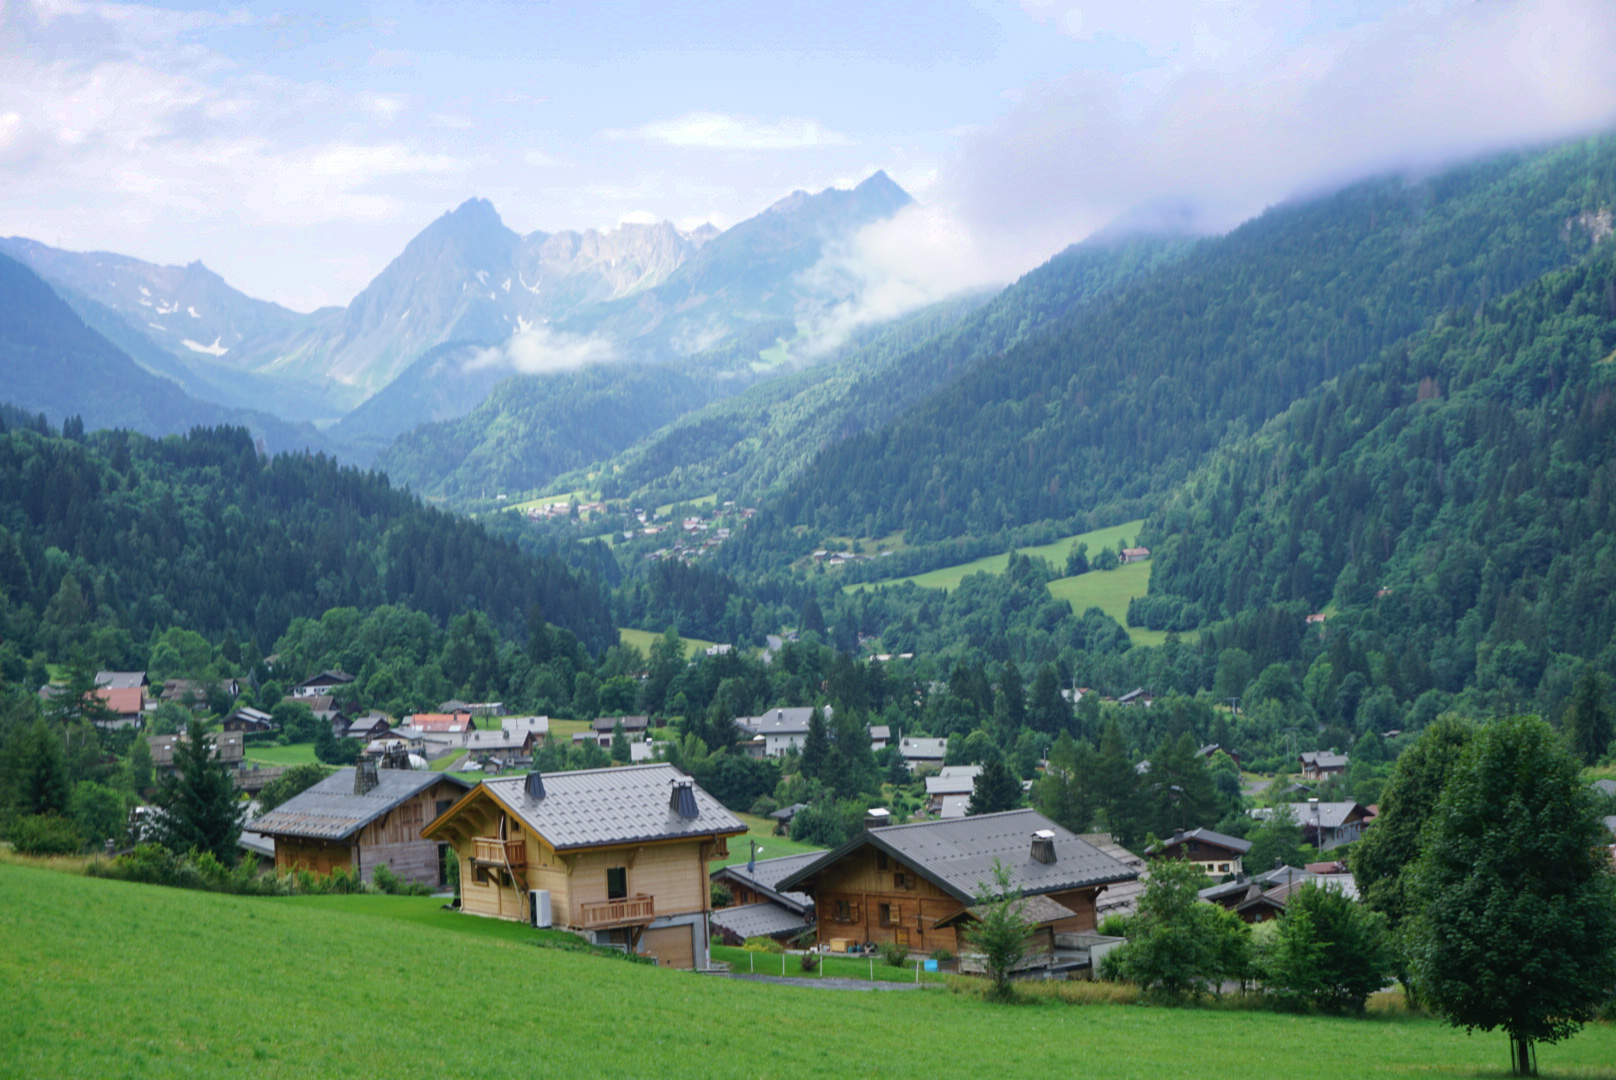
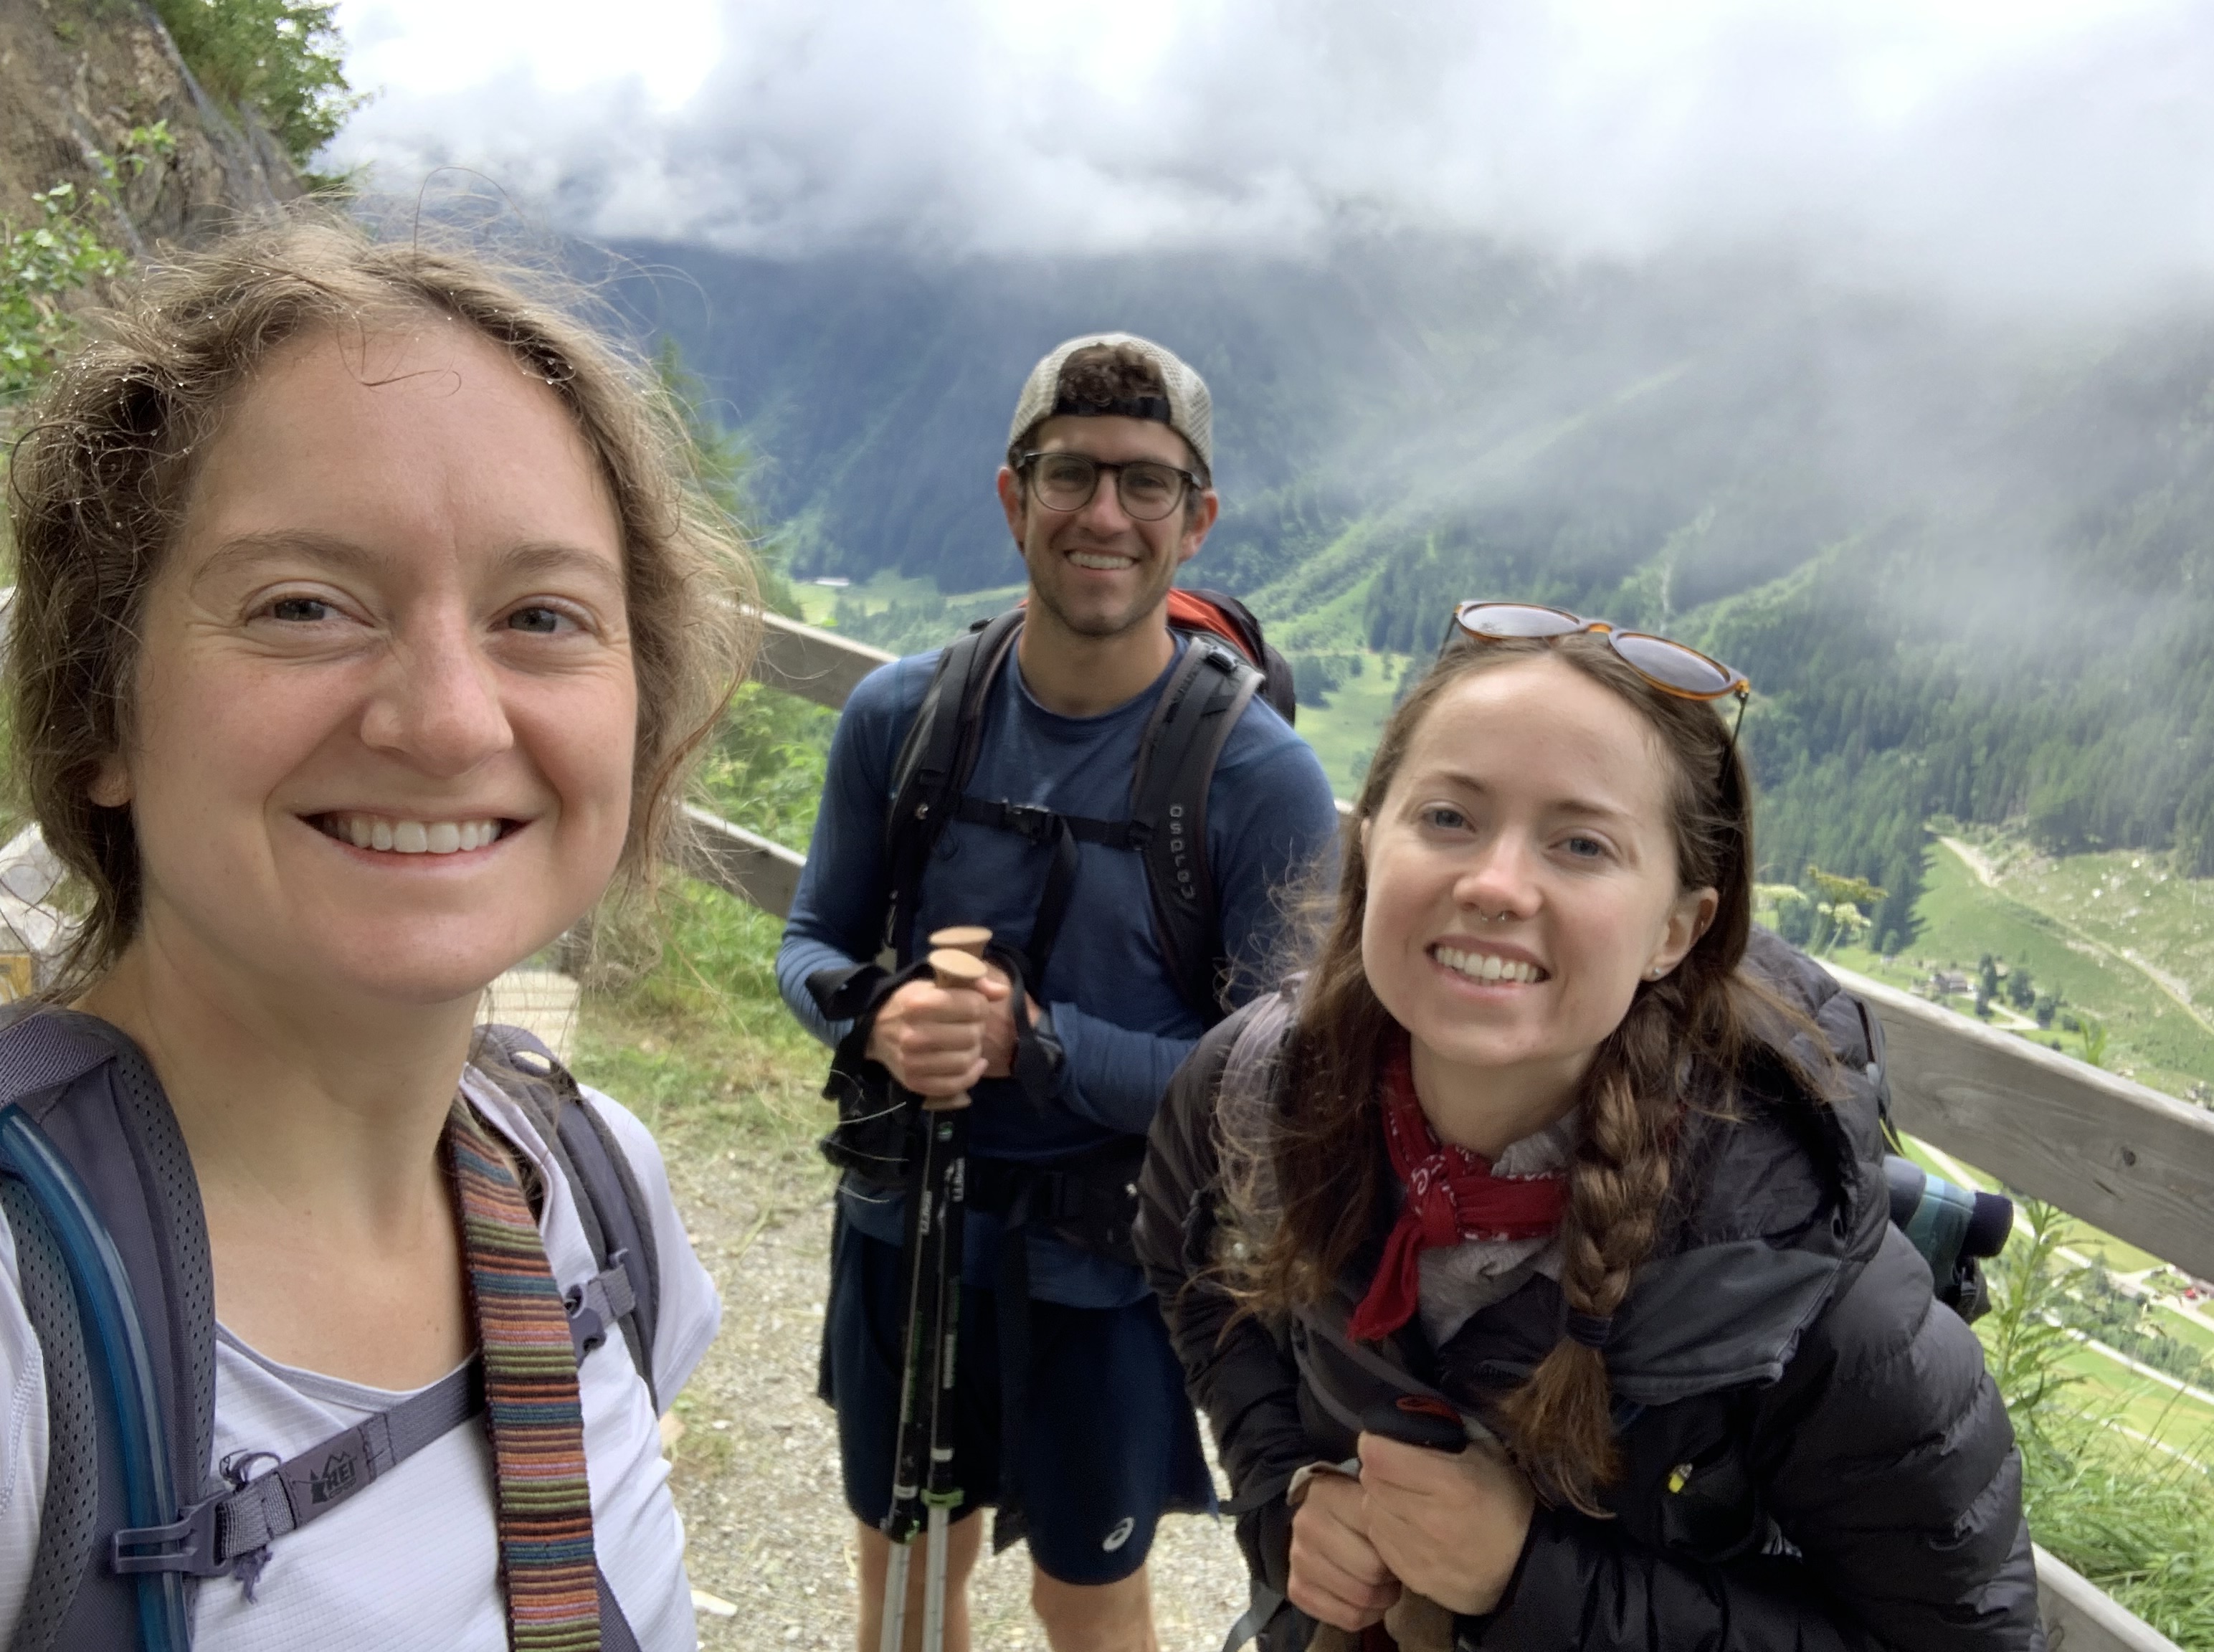
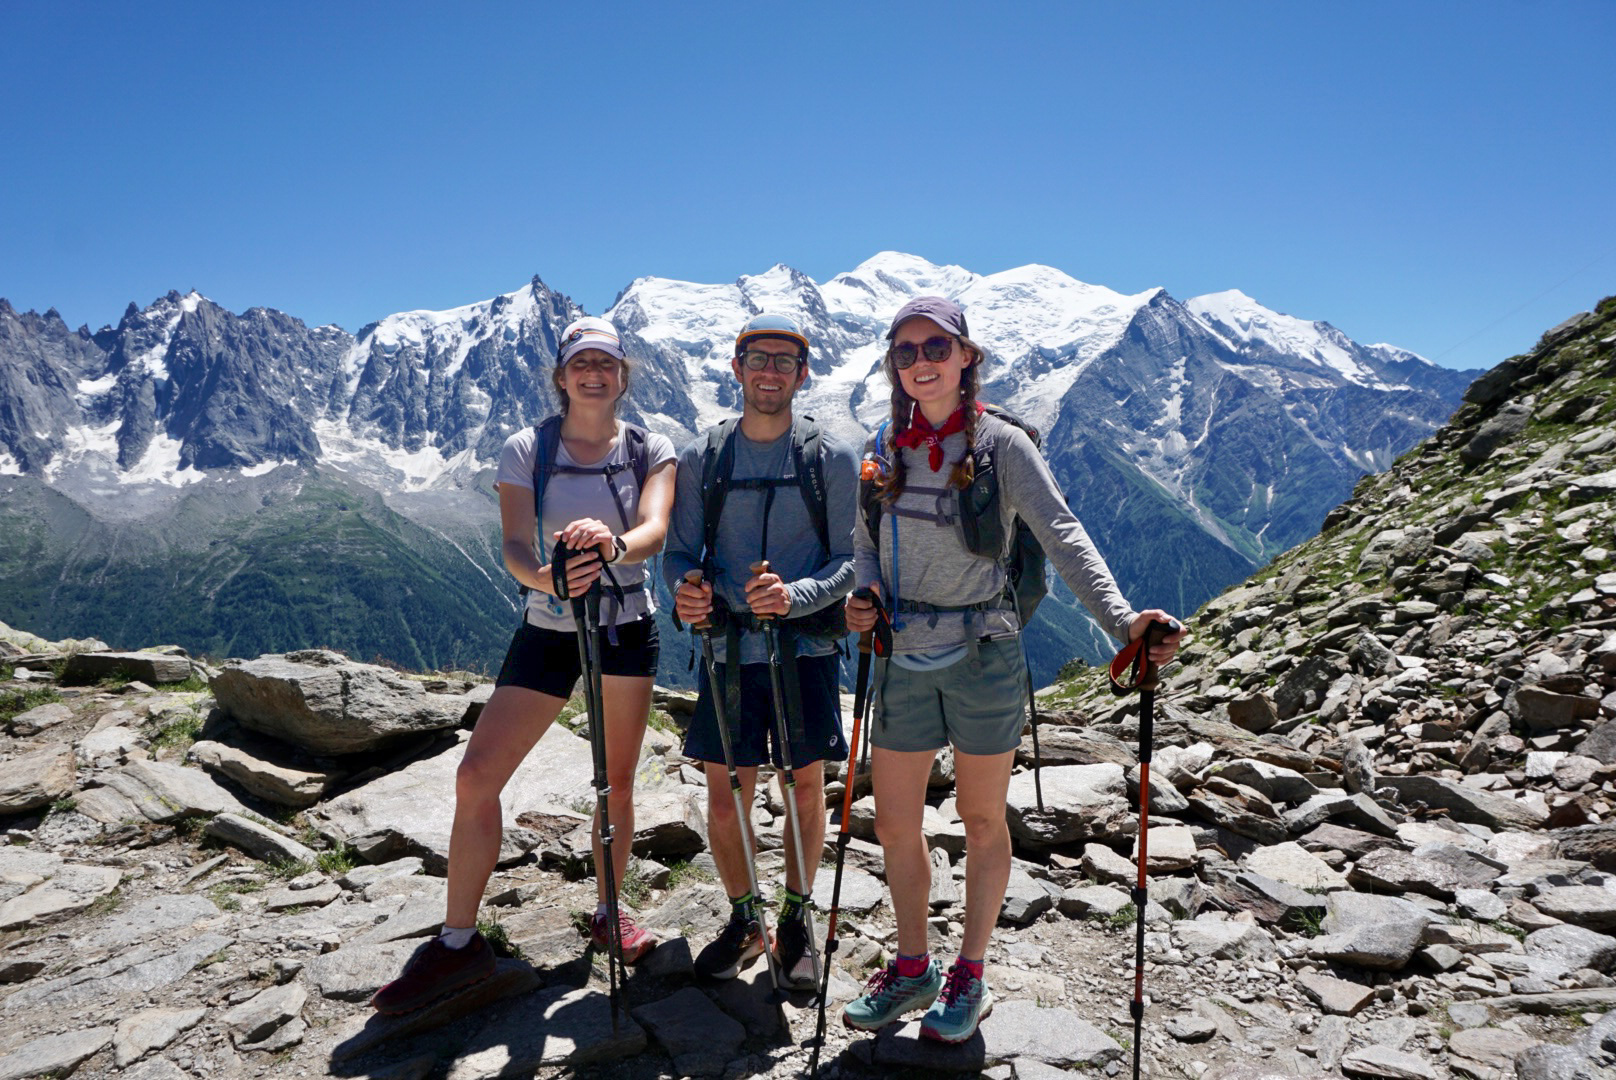
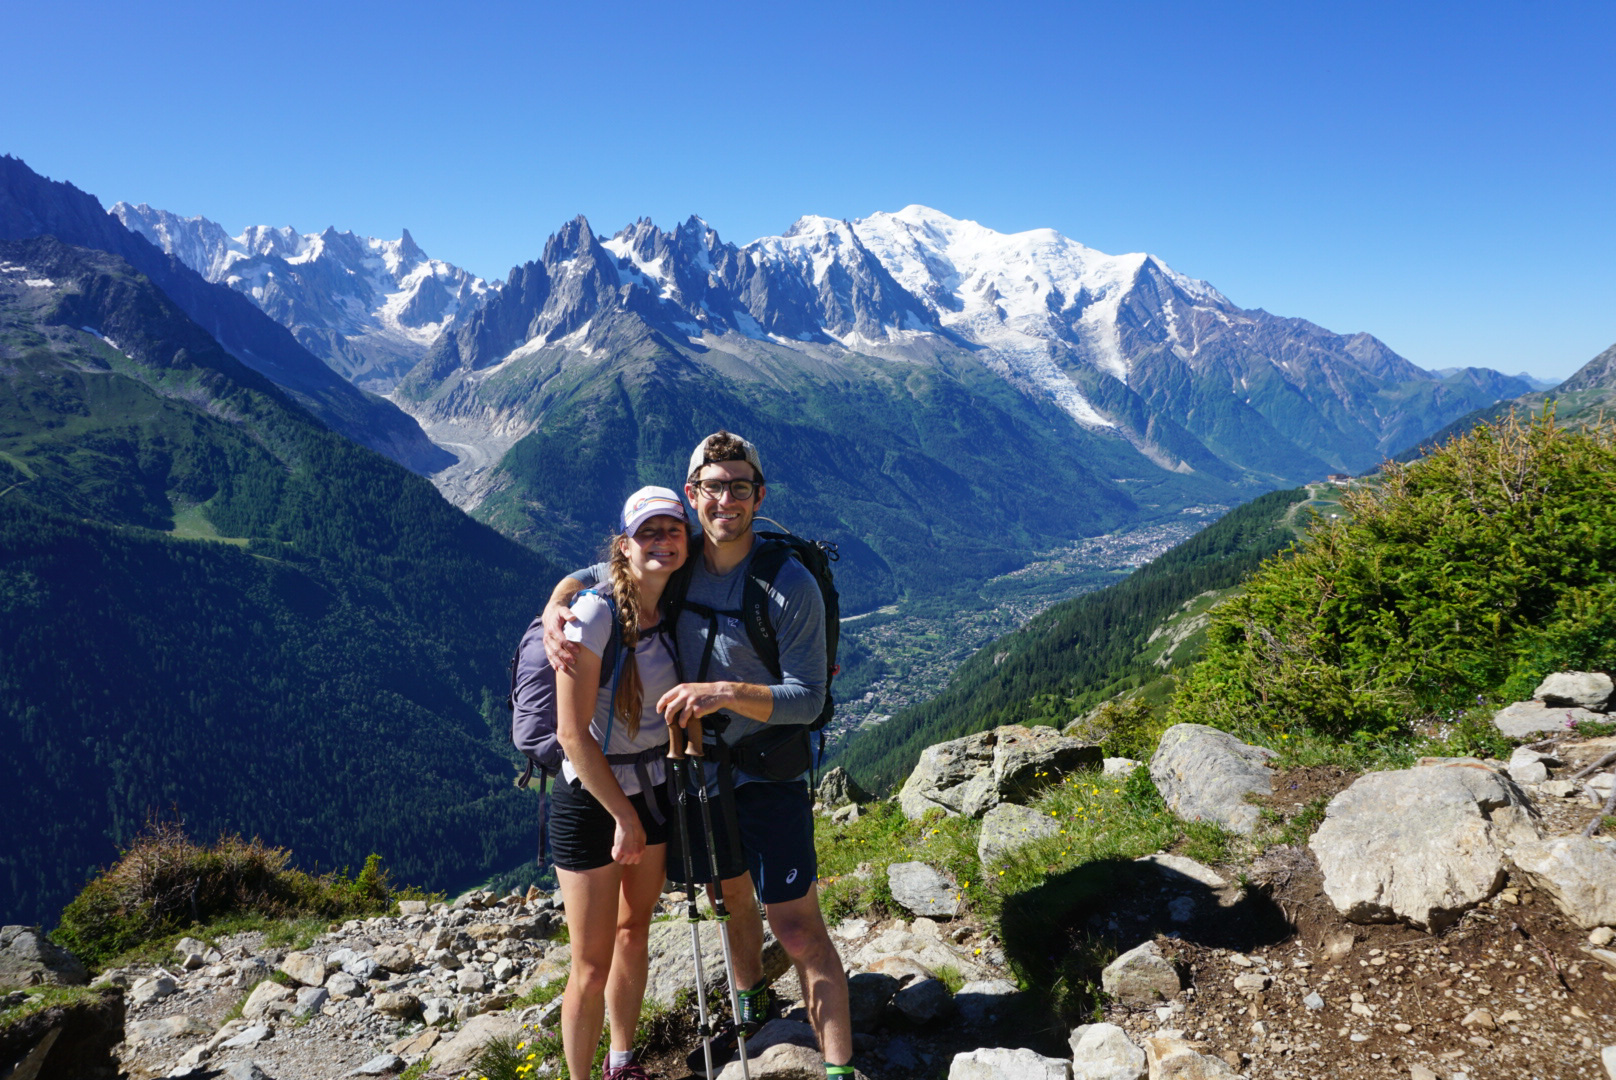
Tour du Mont Blanc has been on my bucket list for years, but the pandemic kept me from venturing overseas. This year, I convinced two friends to join on the adventure! With work schedules, we only had five days to complete it. Knowing that fastpacking is becoming more popular and this is one of the most famous treks in the world, I assumed it wouldn’t be too challenging to find information for a five-day trip. I couldn’t have been more wrong!
We dug around on the internet only to find seven-day itineraries at the minimum. Not deterred, we came up with our own itinerary. A key piece to this was finding a GPX track that we uploaded into Caltopo. In Caltopo, we were able to see where refuges were and guesstimated distances between refuges that seemed feasible.
Itinerary
We mostly followed the standard route with a few exceptions. Our total route was about 98 miles with 31,000 feet of gain/loss. The GPX track lists the route we took and the full profile of each day (mileage, elevation gain/loss). You’ll also be able to see the variant options. In Caltopo, you should be able to export the GPX track into whatever software you normally use. You can also create your own Caltopo account and start to create your own tracks. You just need access to a premium account for offline use on your phone.
One of us bought a guidebook that was really helpful to understand the different sections of the trail and what variants are worth taking. We ended up not being able to take the two variants we wanted because our mileage and gain/loss were already too high. Generally, the more scenic the variant, the longer and harder it is.
| Day | Start Refuge | Distance (miles) | Elevation (feet) |
| 1 | Chalet Les Meandres | 20.8 | +6,675 -6,324 |
| 2 | Refuge des Mottets | 22.3 | +7,571 -7,020 |
| 3 | Refuge Walter Bonnatti | 21.9 | +5,190 -7,058 |
| 4 | Auberge Gite Bon Abri | 17.4 | +5,731 -6,077 |
| 5 | Gite Le Moulin | 15.4 | +5,411 -6,511 |
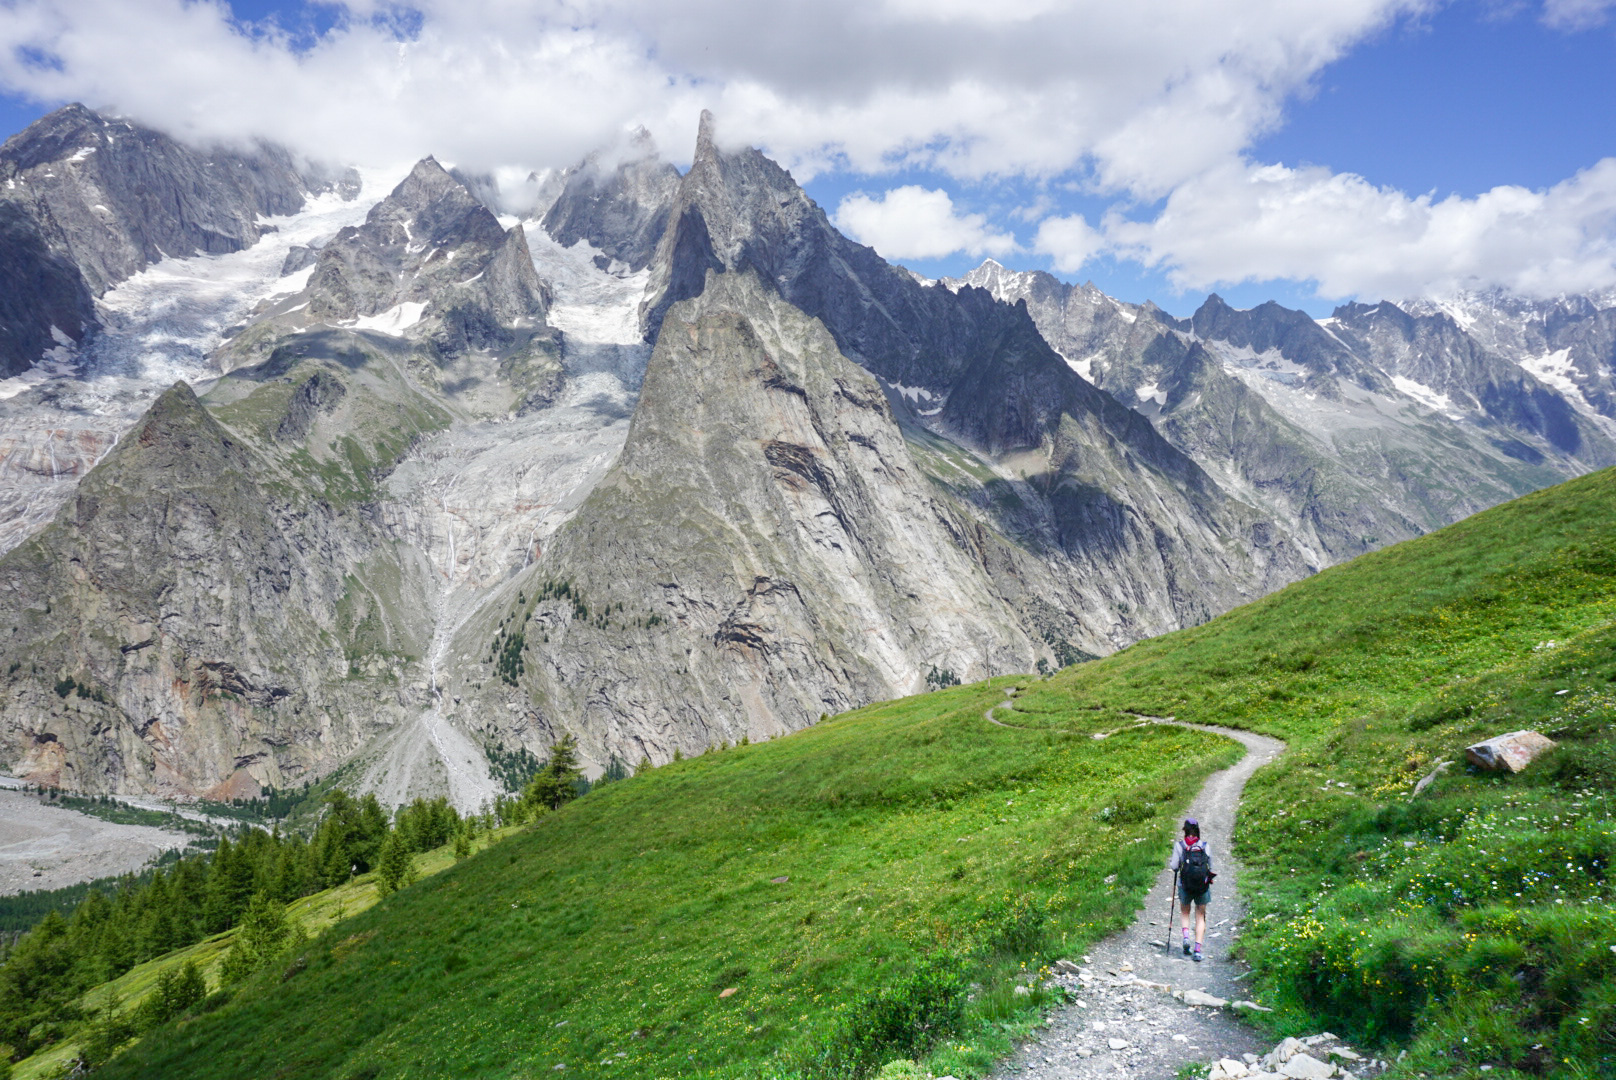
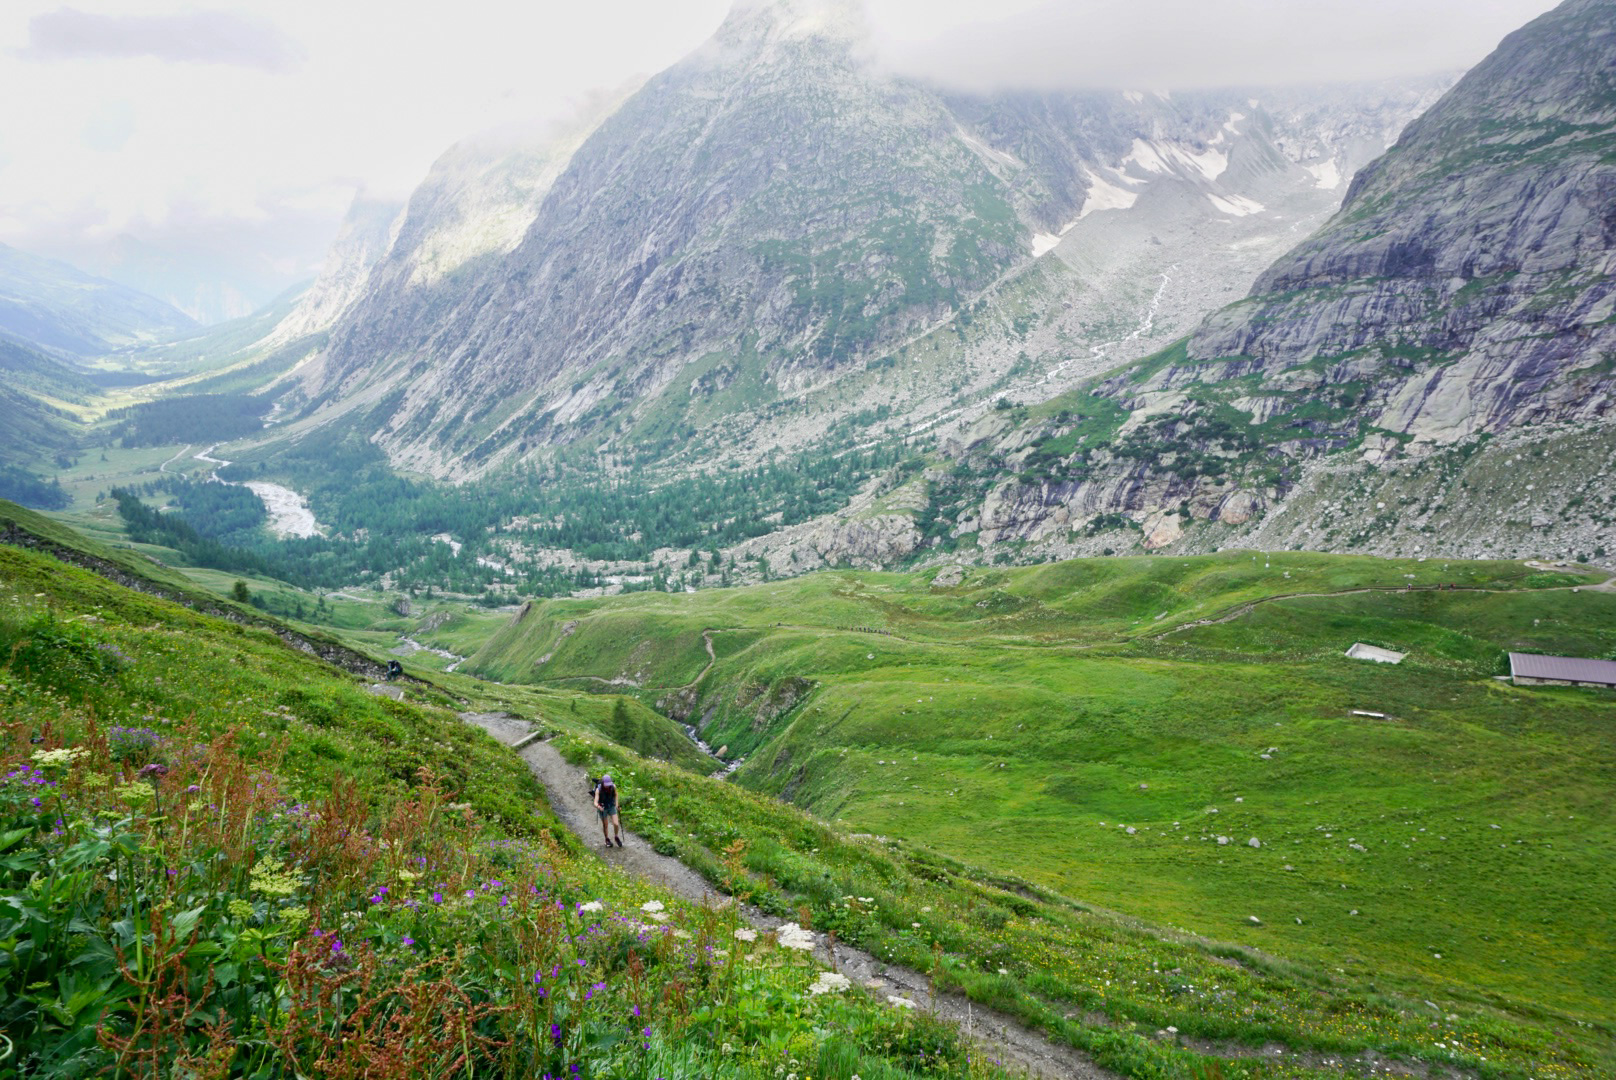
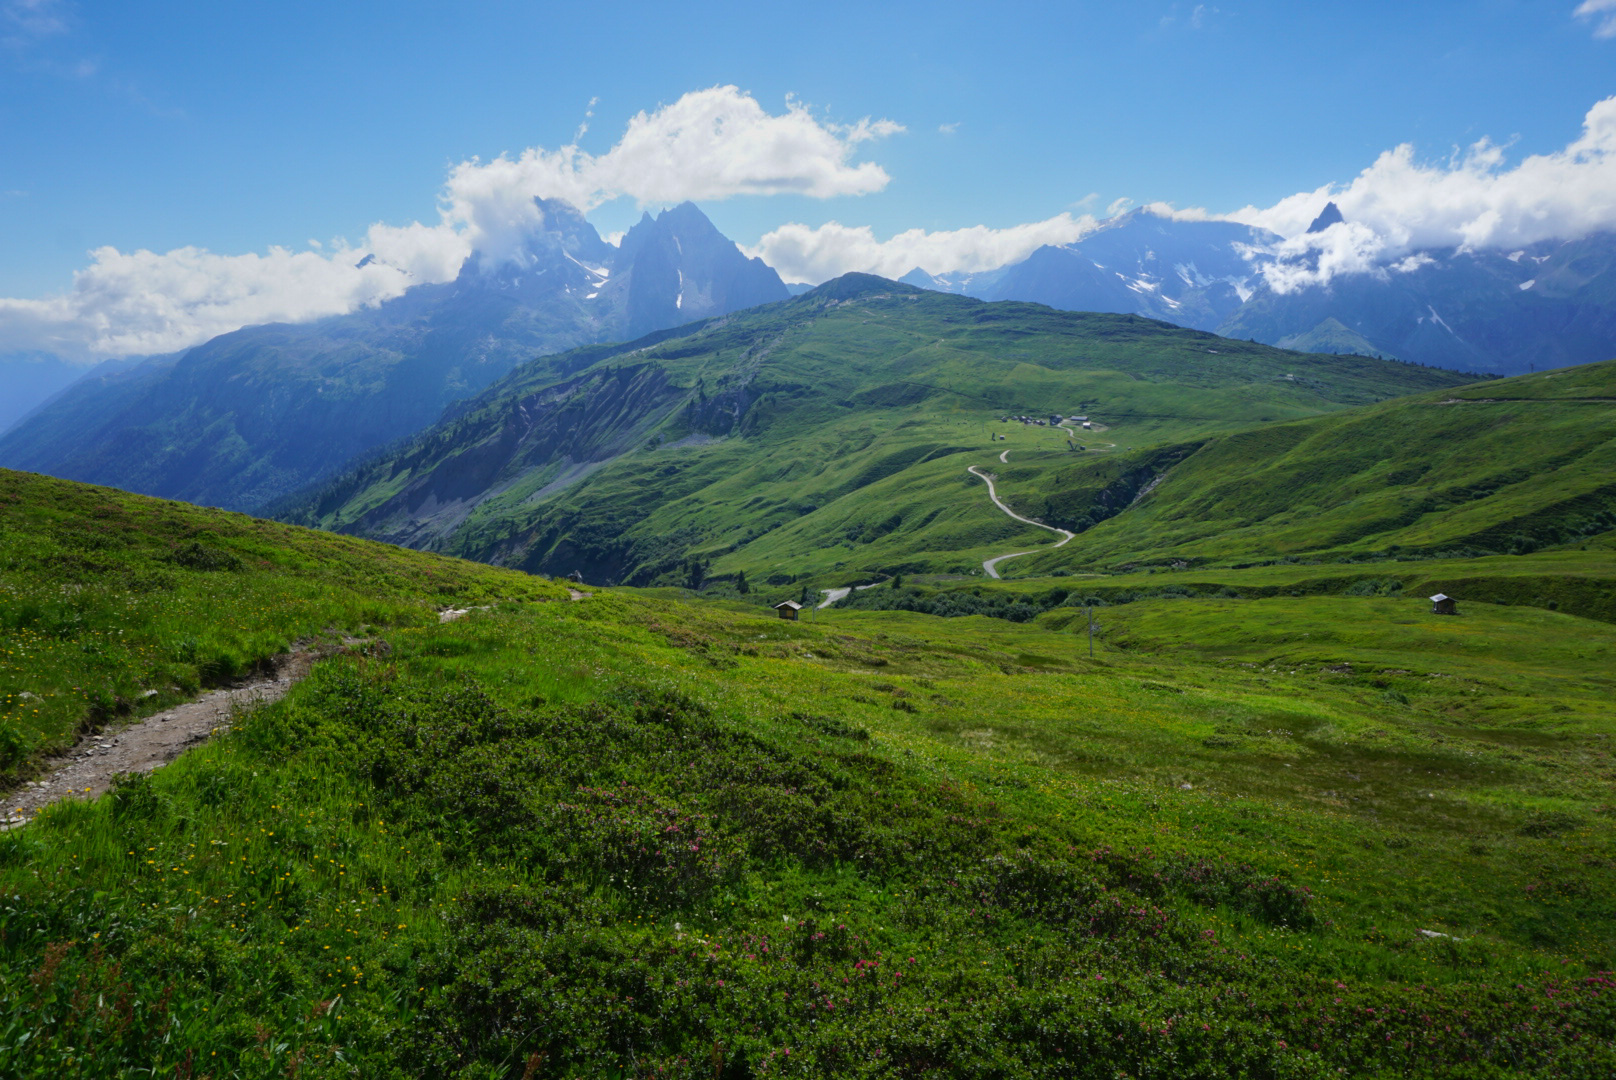
Day 1: We started by taking the Bellevue Lift up (16 Euros/person) to save us about 2,200 gain over 3.1 miles. This is a pretty standard thing to do, and I would highly encourage you to save your legs for the rest of the day. There is an option to take the Variante du Col de Tricot when you get off the lift. We read that this variant is prettier, but adds elevation and distance to your day so we opted for the standard route. Later in the day, we did take the Variante du Col de Tricot instead of the standard route down towards the bottom to lower the overall elevation and distance. As a note, you’ll have a big pass and ridge later in the afternoon. If you have bad weather in the forecast, create a contingency plan so you don’t get stuck on the ridge with lightning and no escape route.
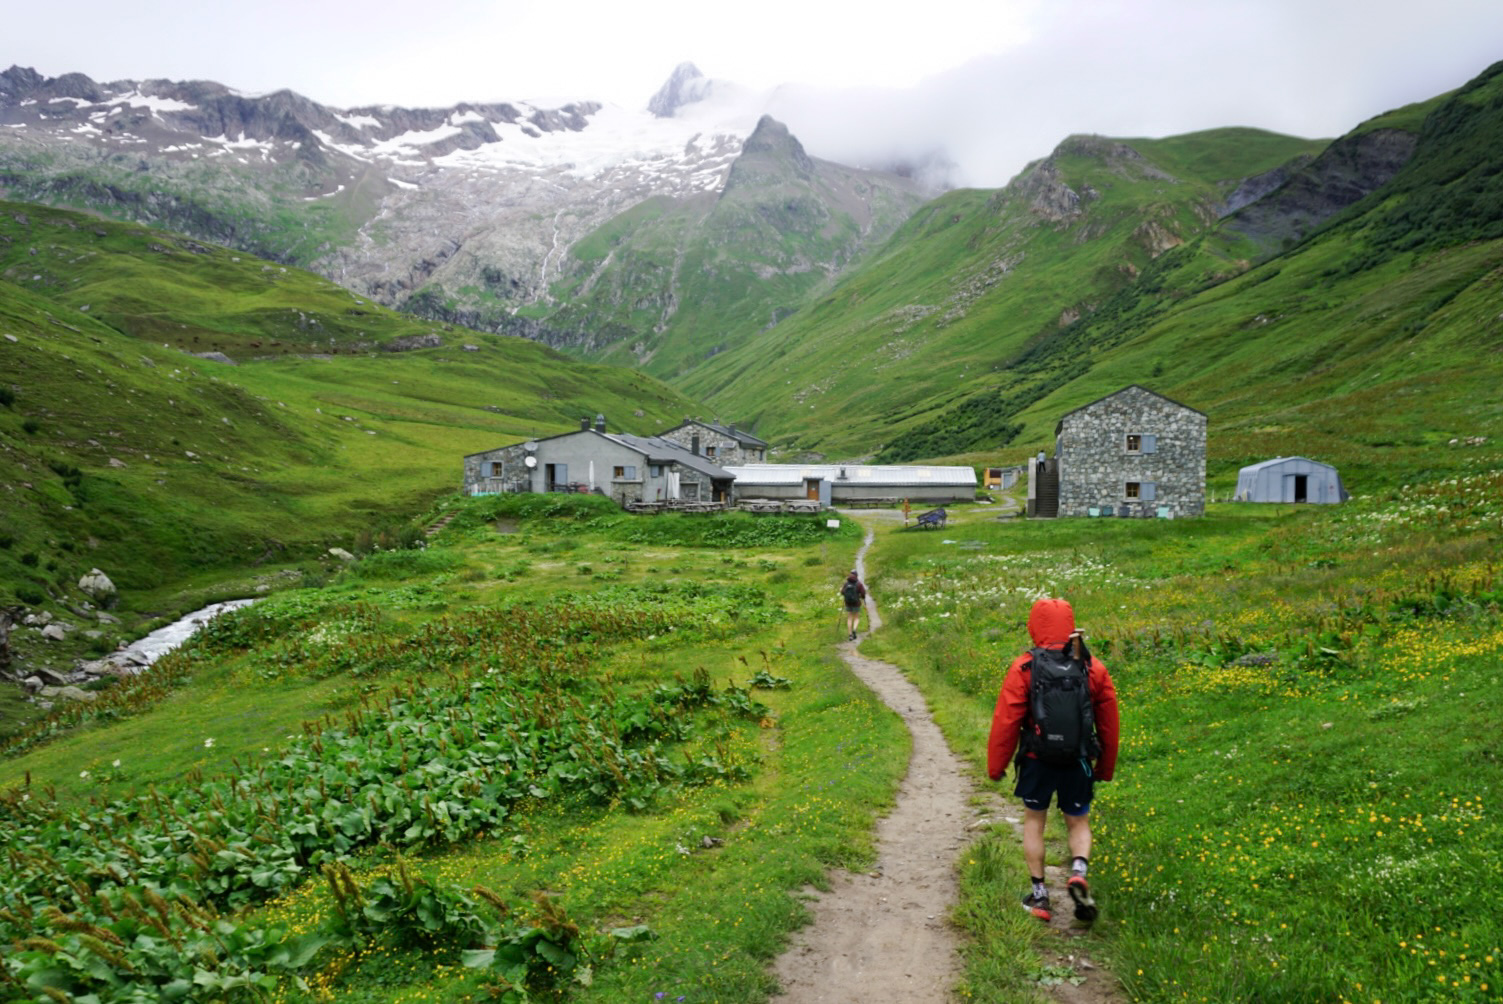
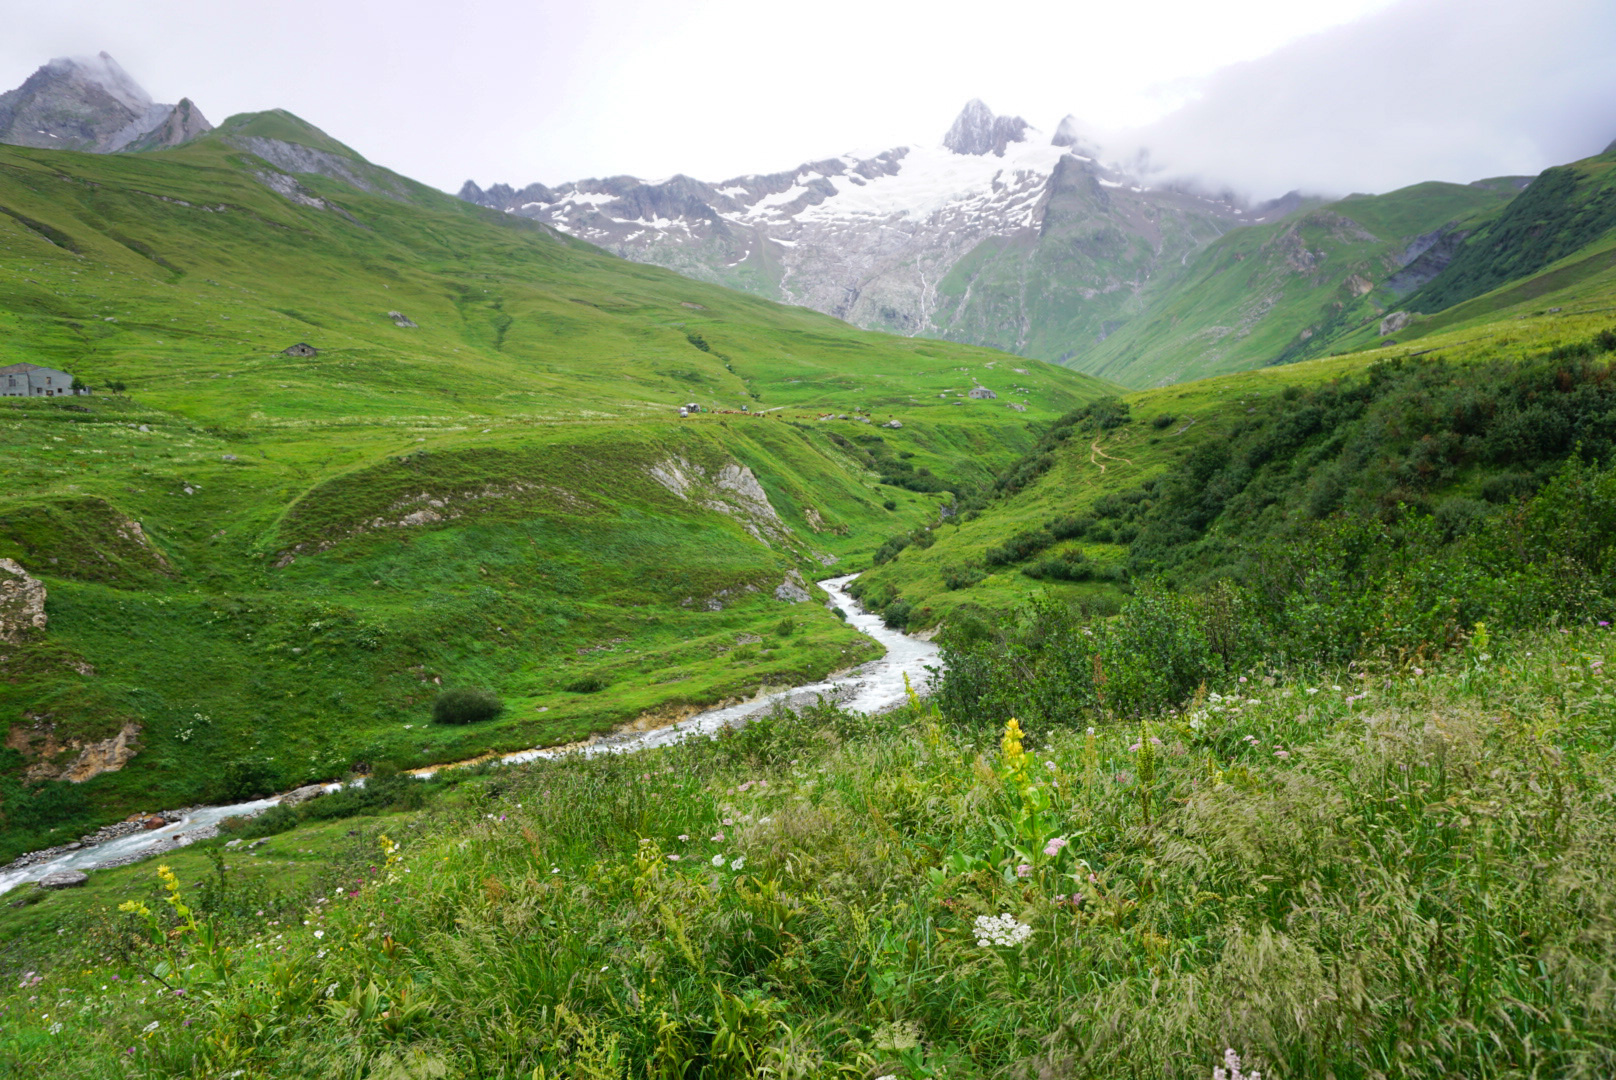

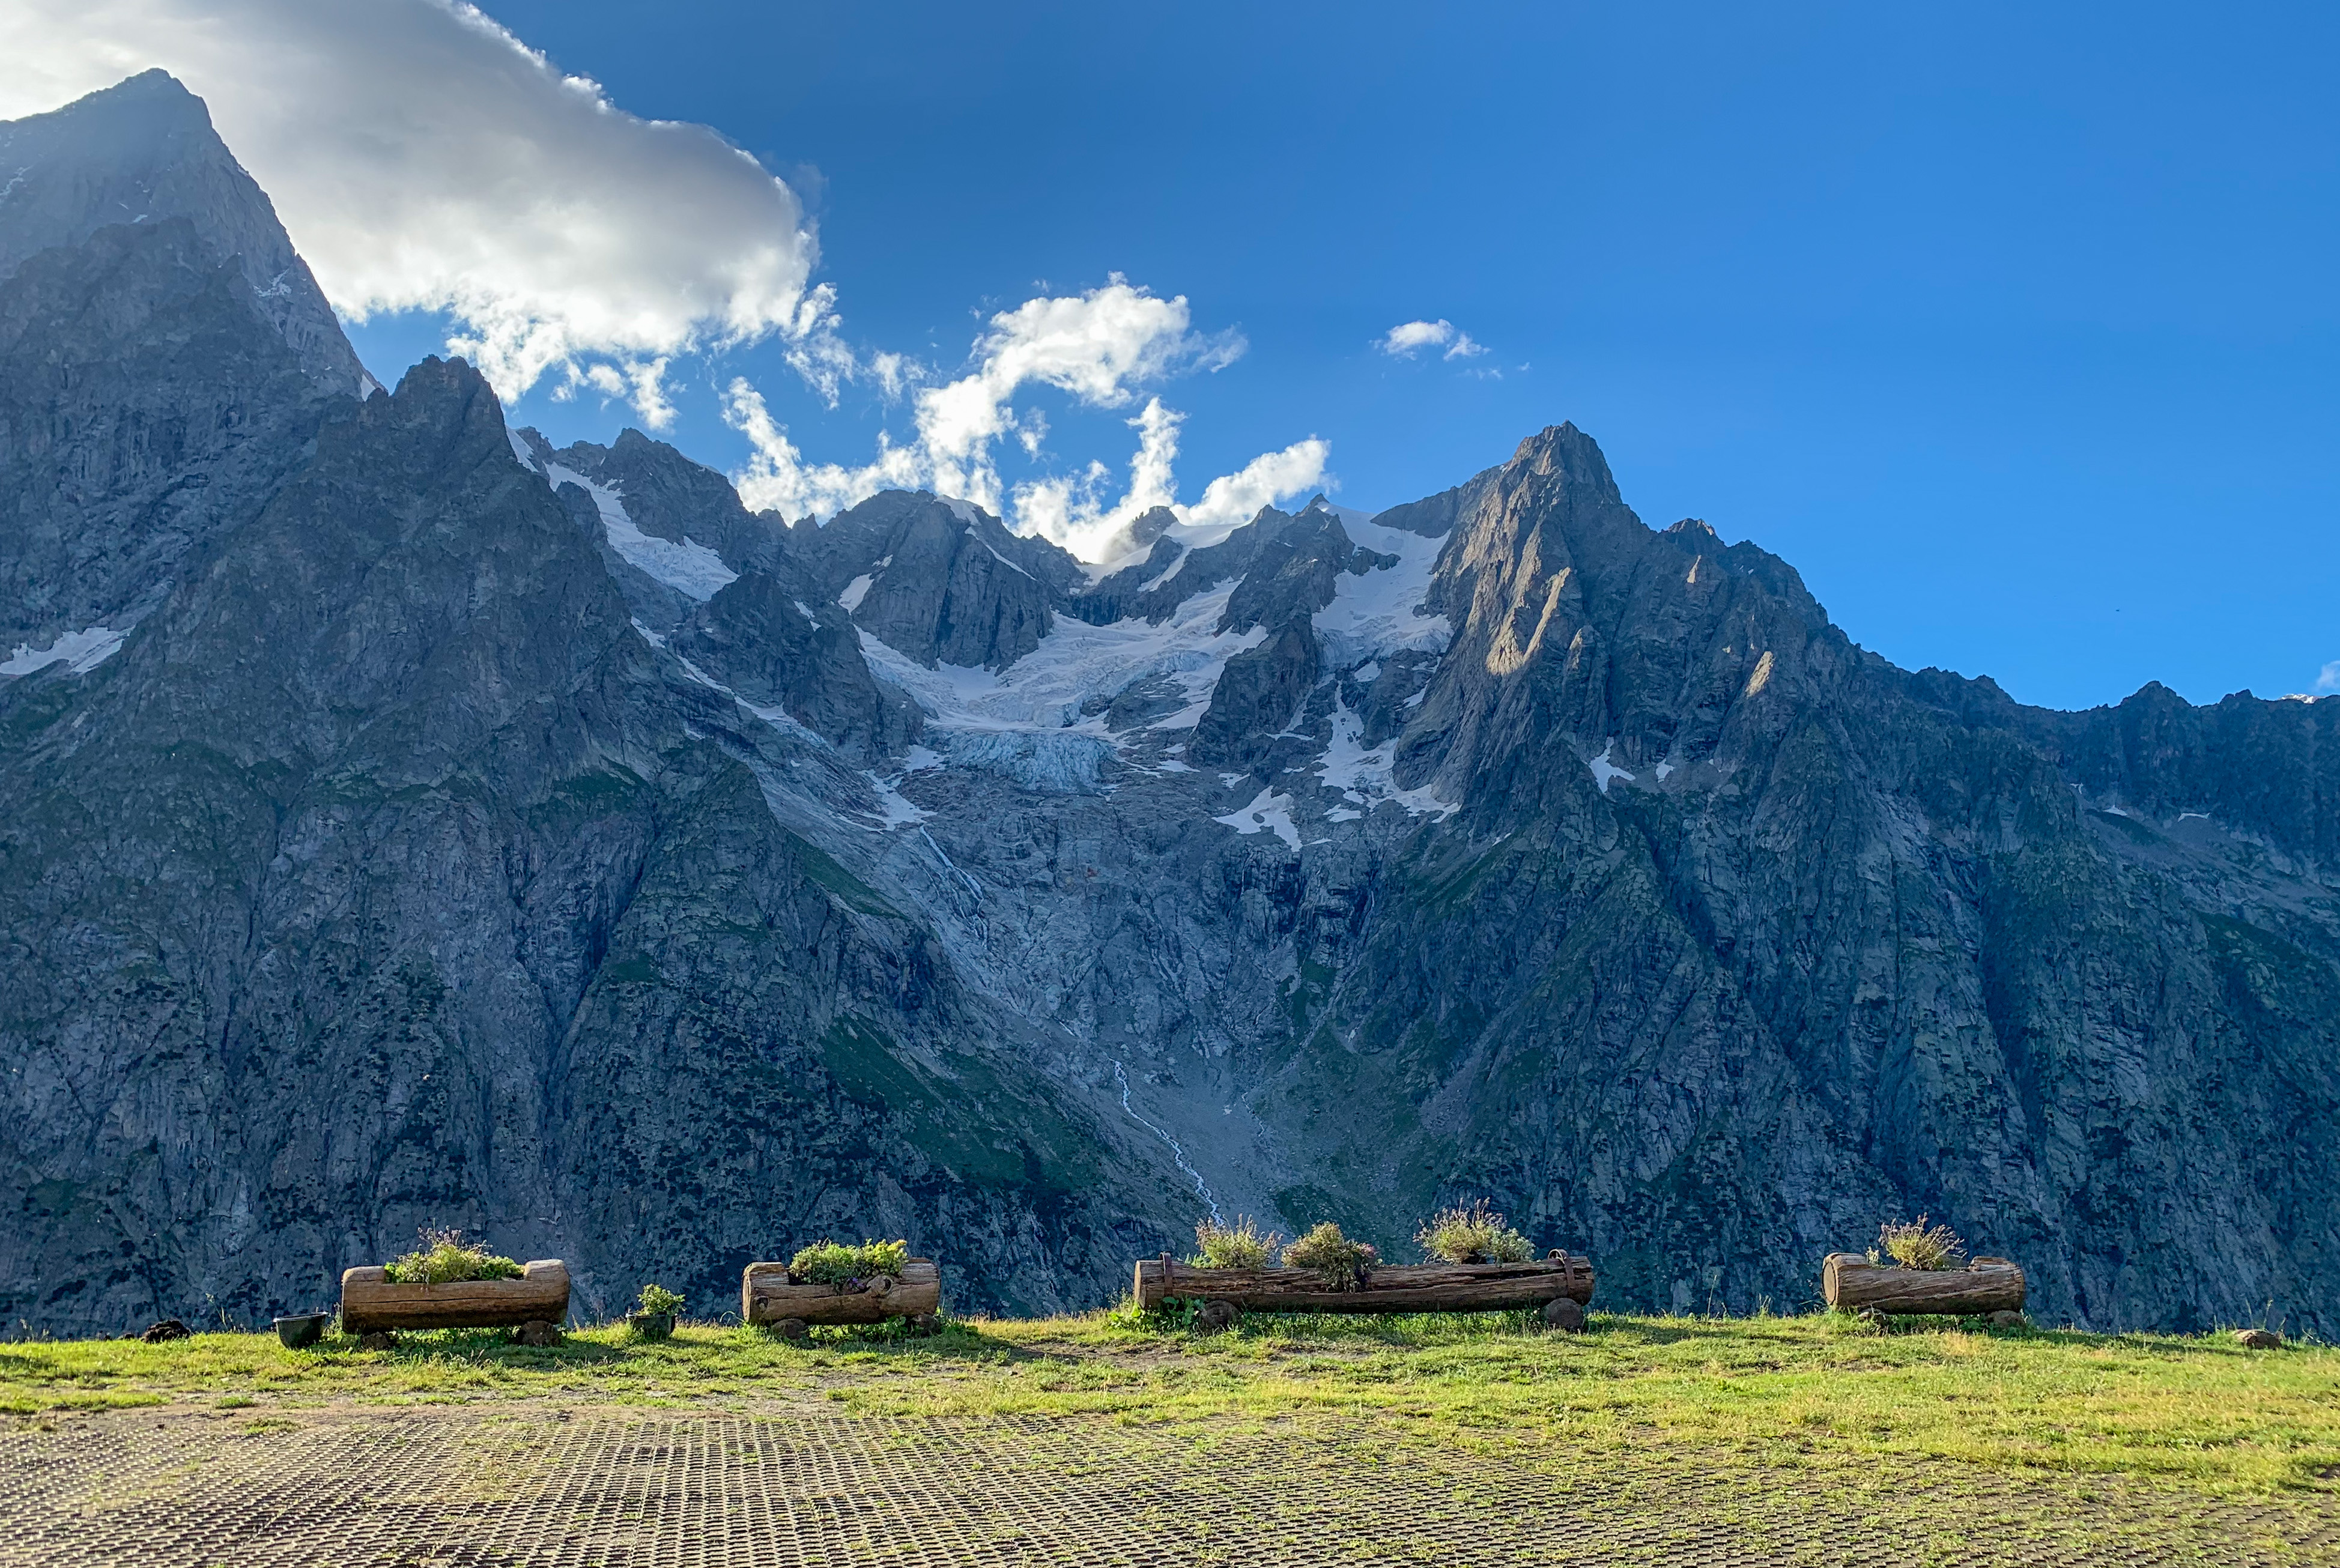
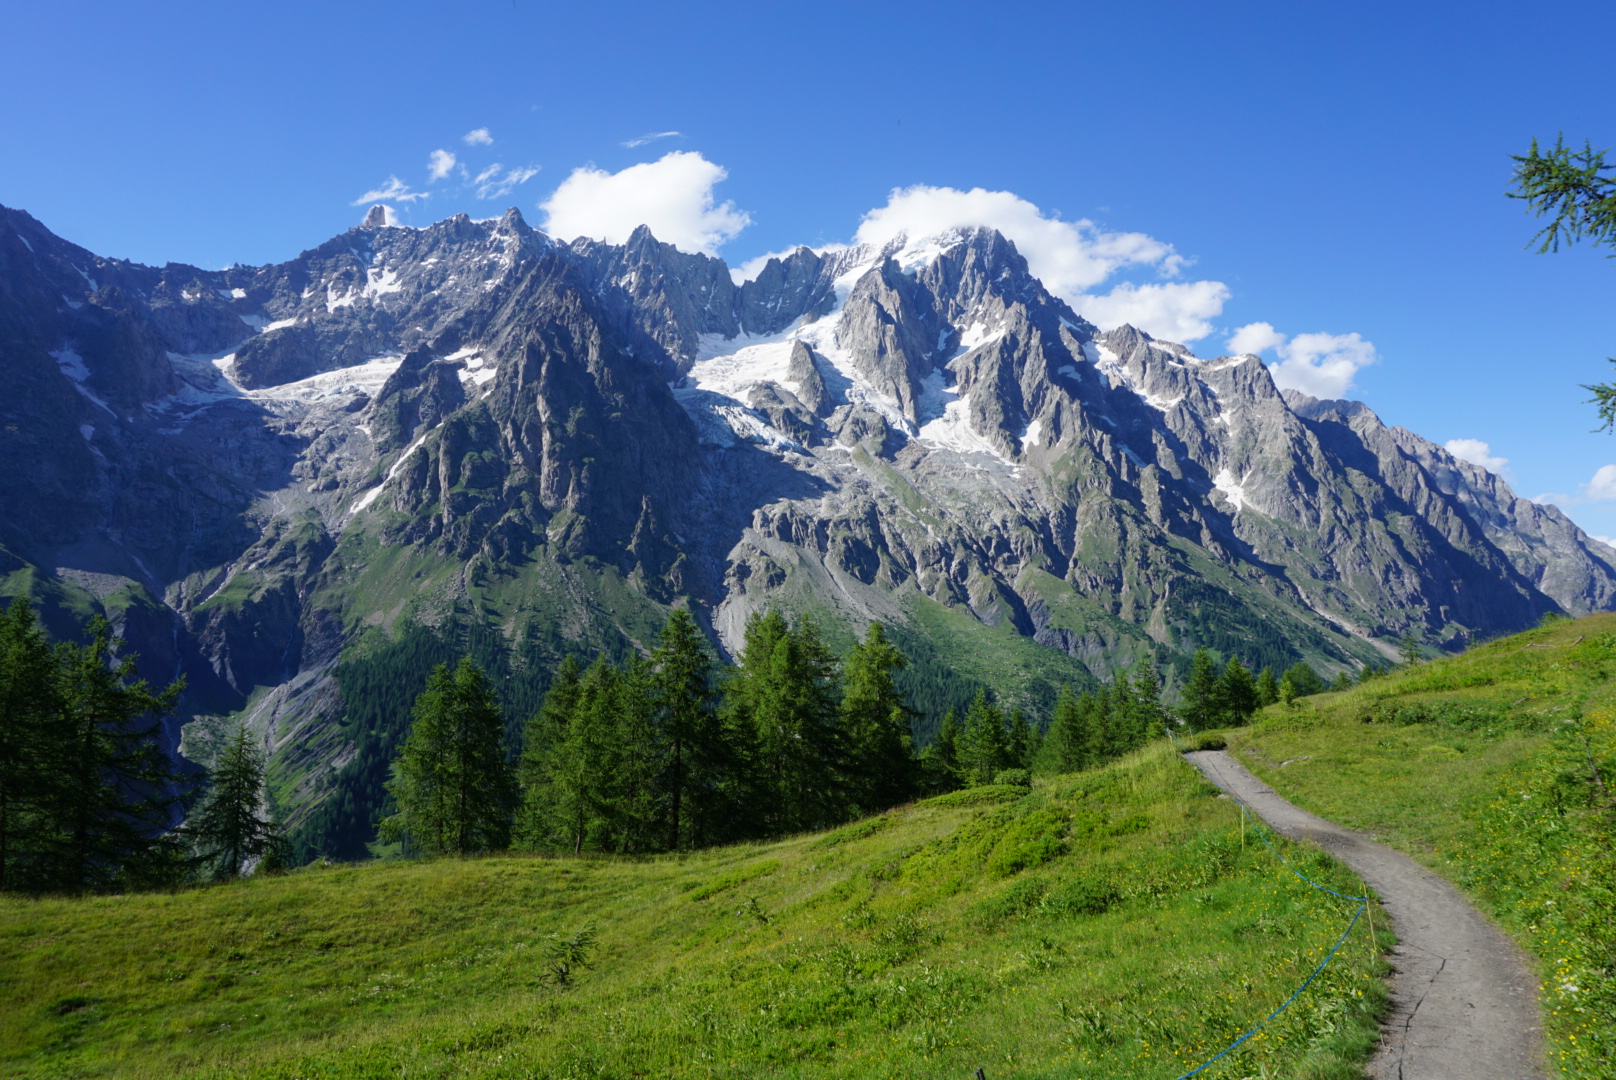
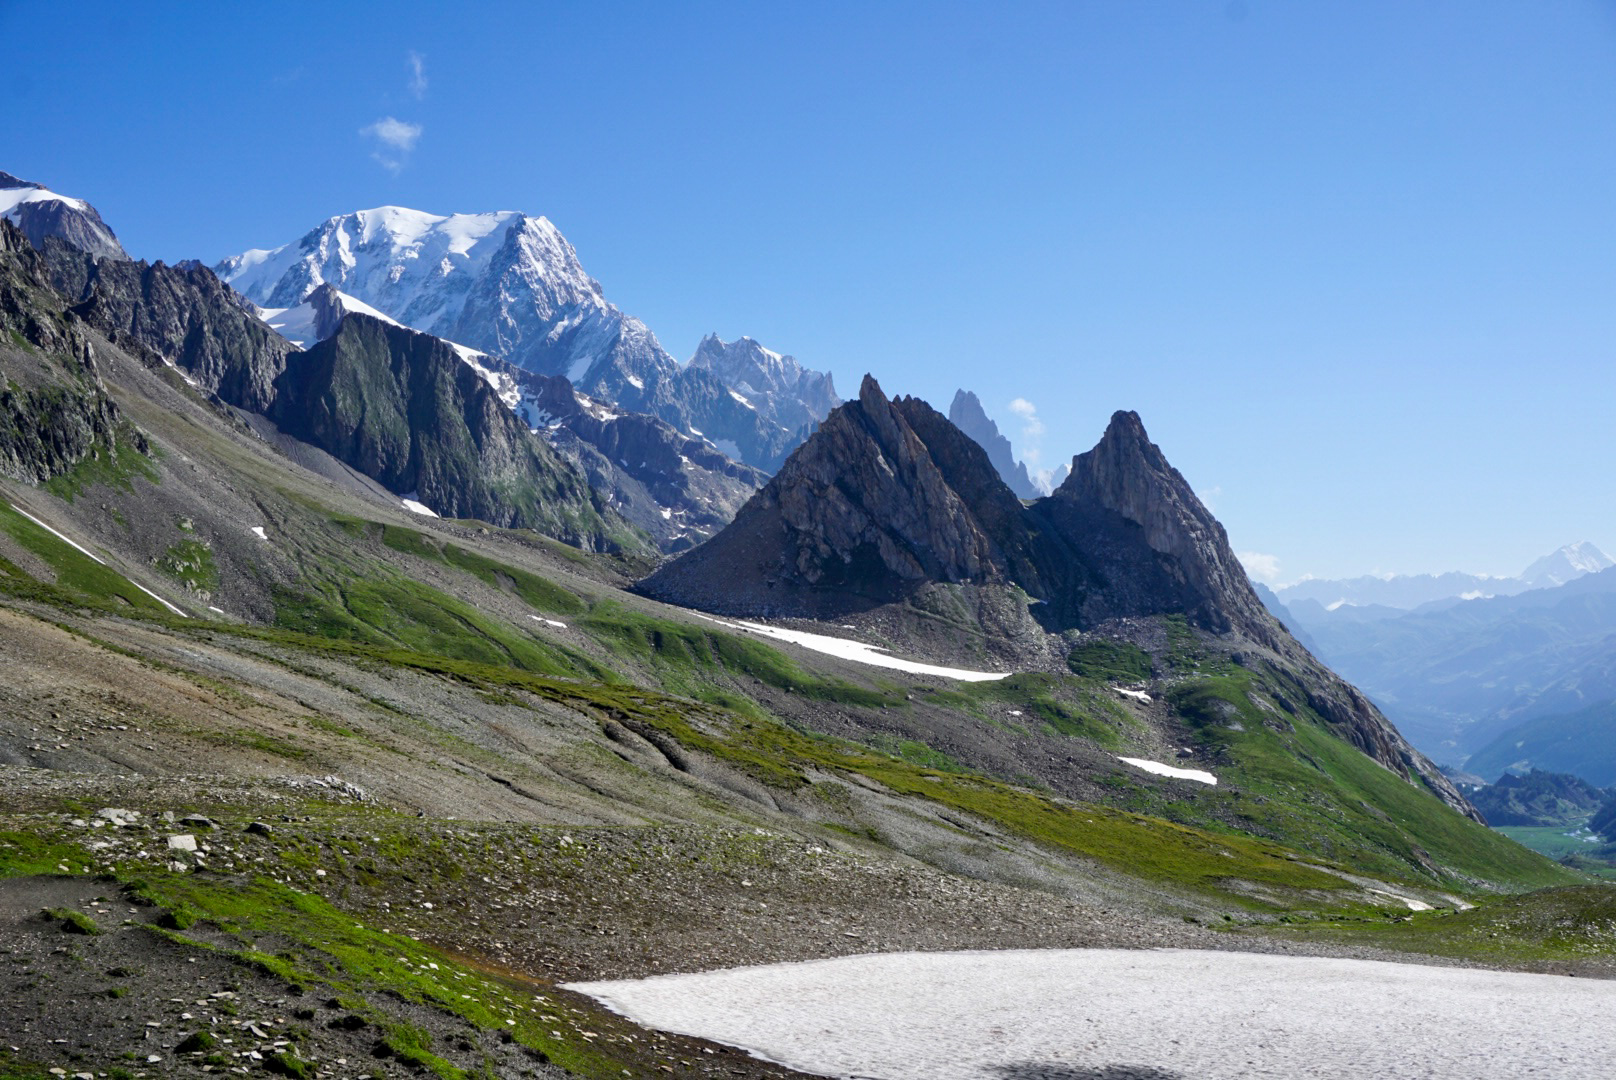
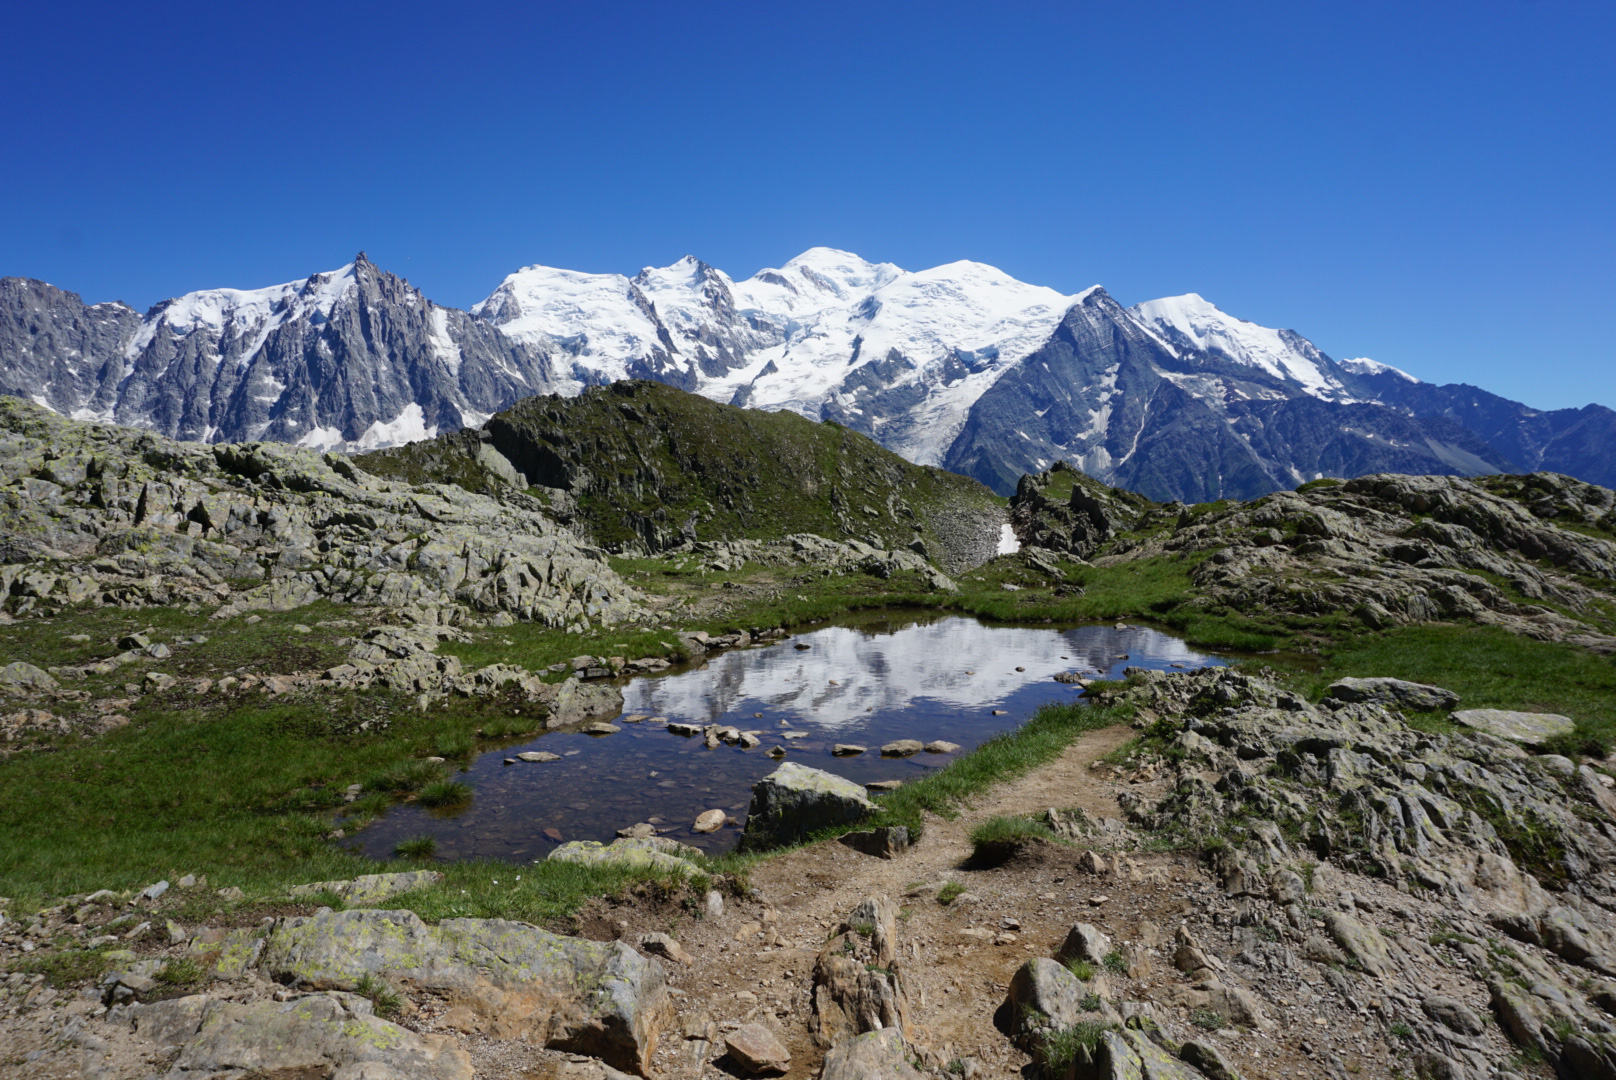
Day 2: This was our longest and hardest day. You start this day by going up to the top of the pass and see Mont Blanc up to your left. There is one of the most scenic variants on this day, but it adds significant elevation gain/loss (I believe at least 2,000). We showed up about half an hour late to dinner taking the standard route. Do not underestimate the hill after leaving Courmayeur (we nicknamed it Number One Worst Hill Ever for good reason).
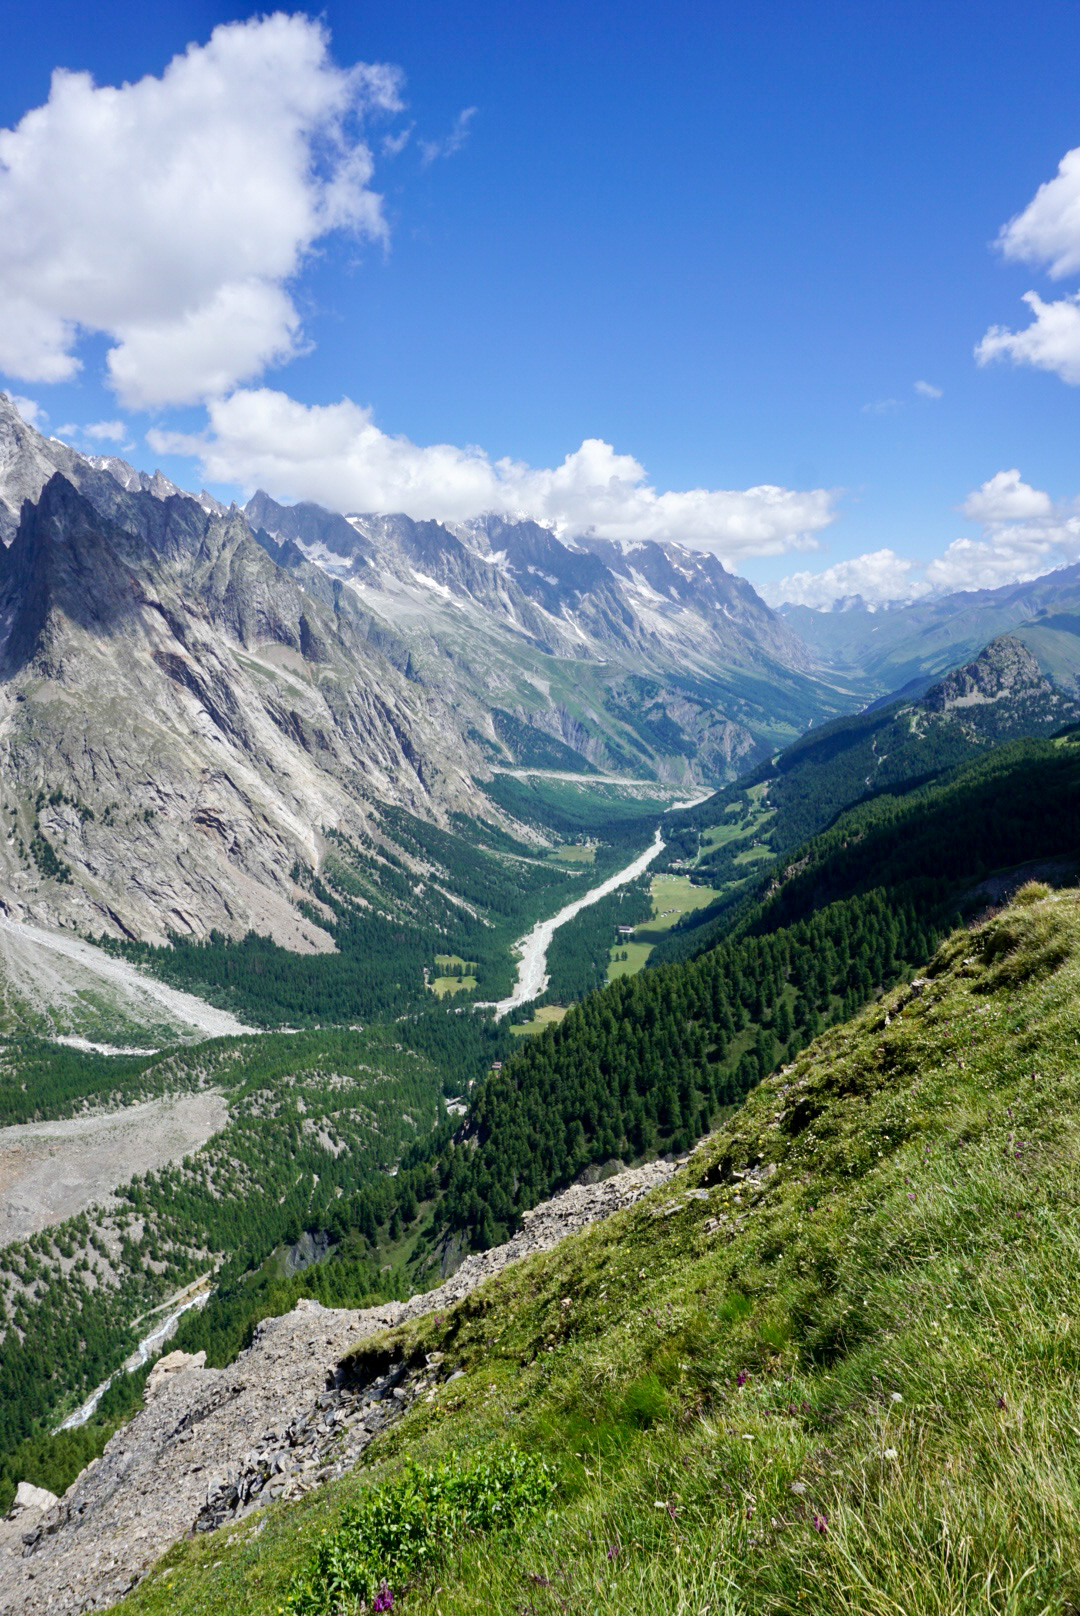

Day 3: This was the day our knees started to seriously protest as we were going down the big pass for the day. We ended up in the town of La Fouly and took the bus to Champex. That cut off a good 10 miles from our day. We ended up doing about 11-12 miles before the bus, so I’d still consider it a big day. It was a huge relief for our legs to have a break. The bus drops you off pretty close to the refuge as well. Before finishing up, we went in Champex to buy knee braces and new shoes.

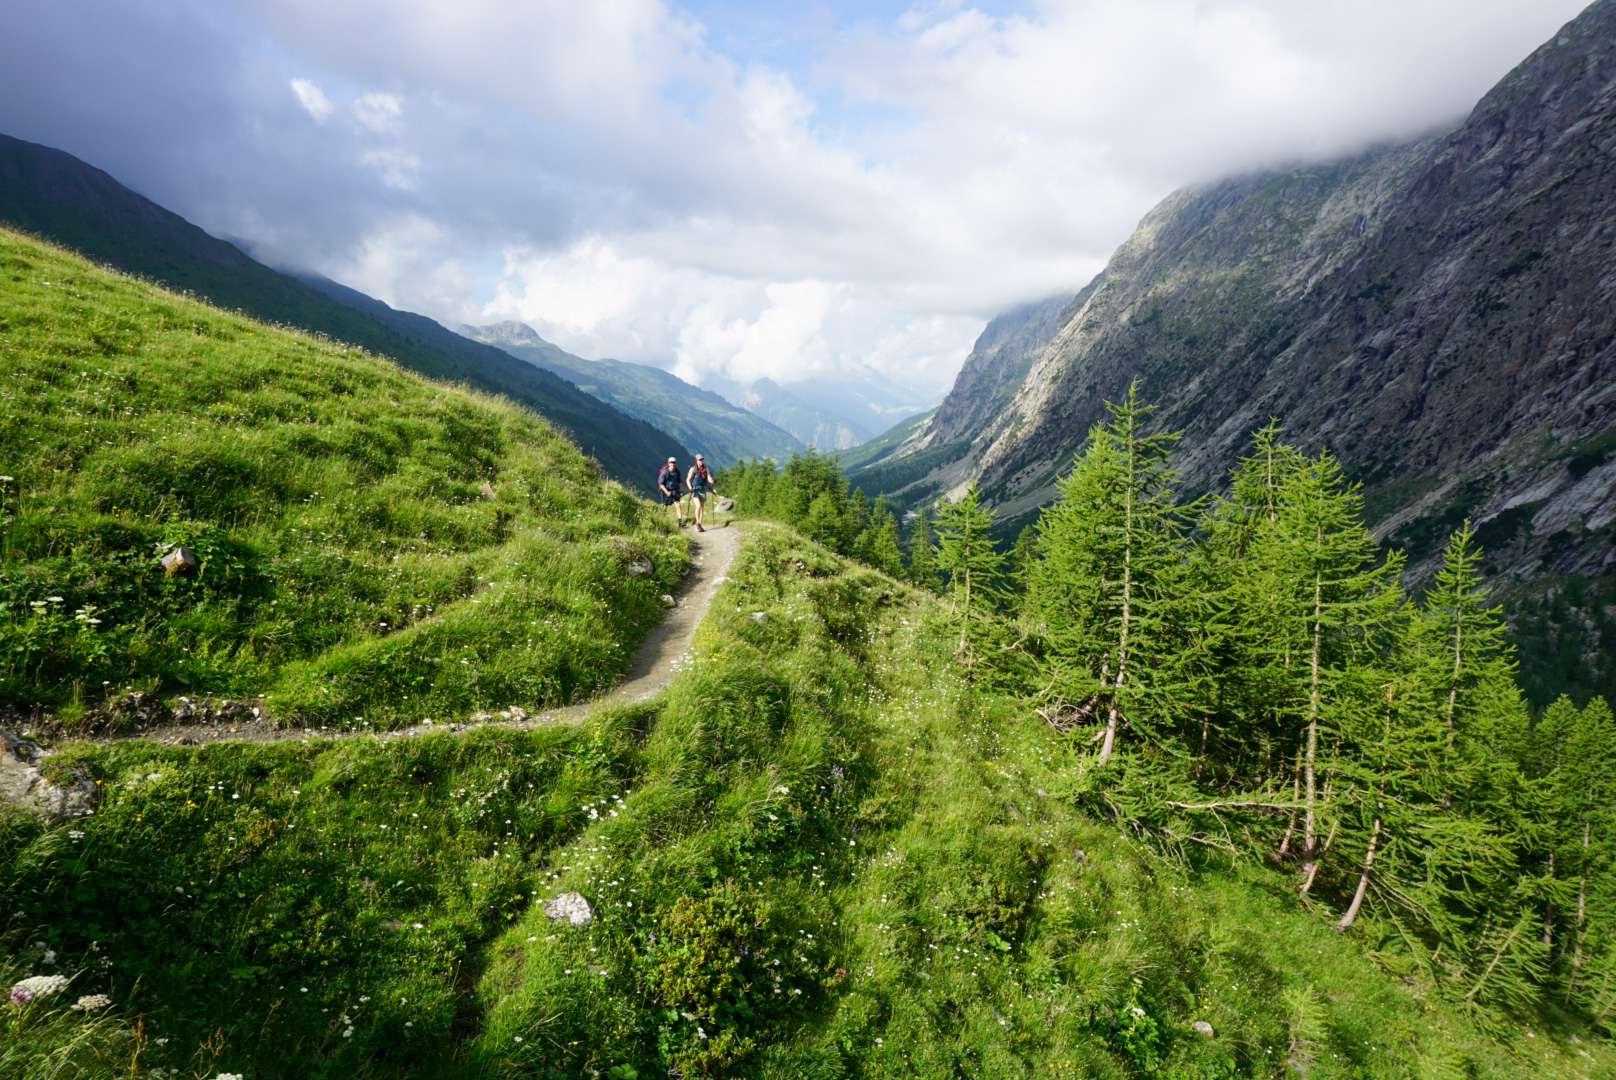
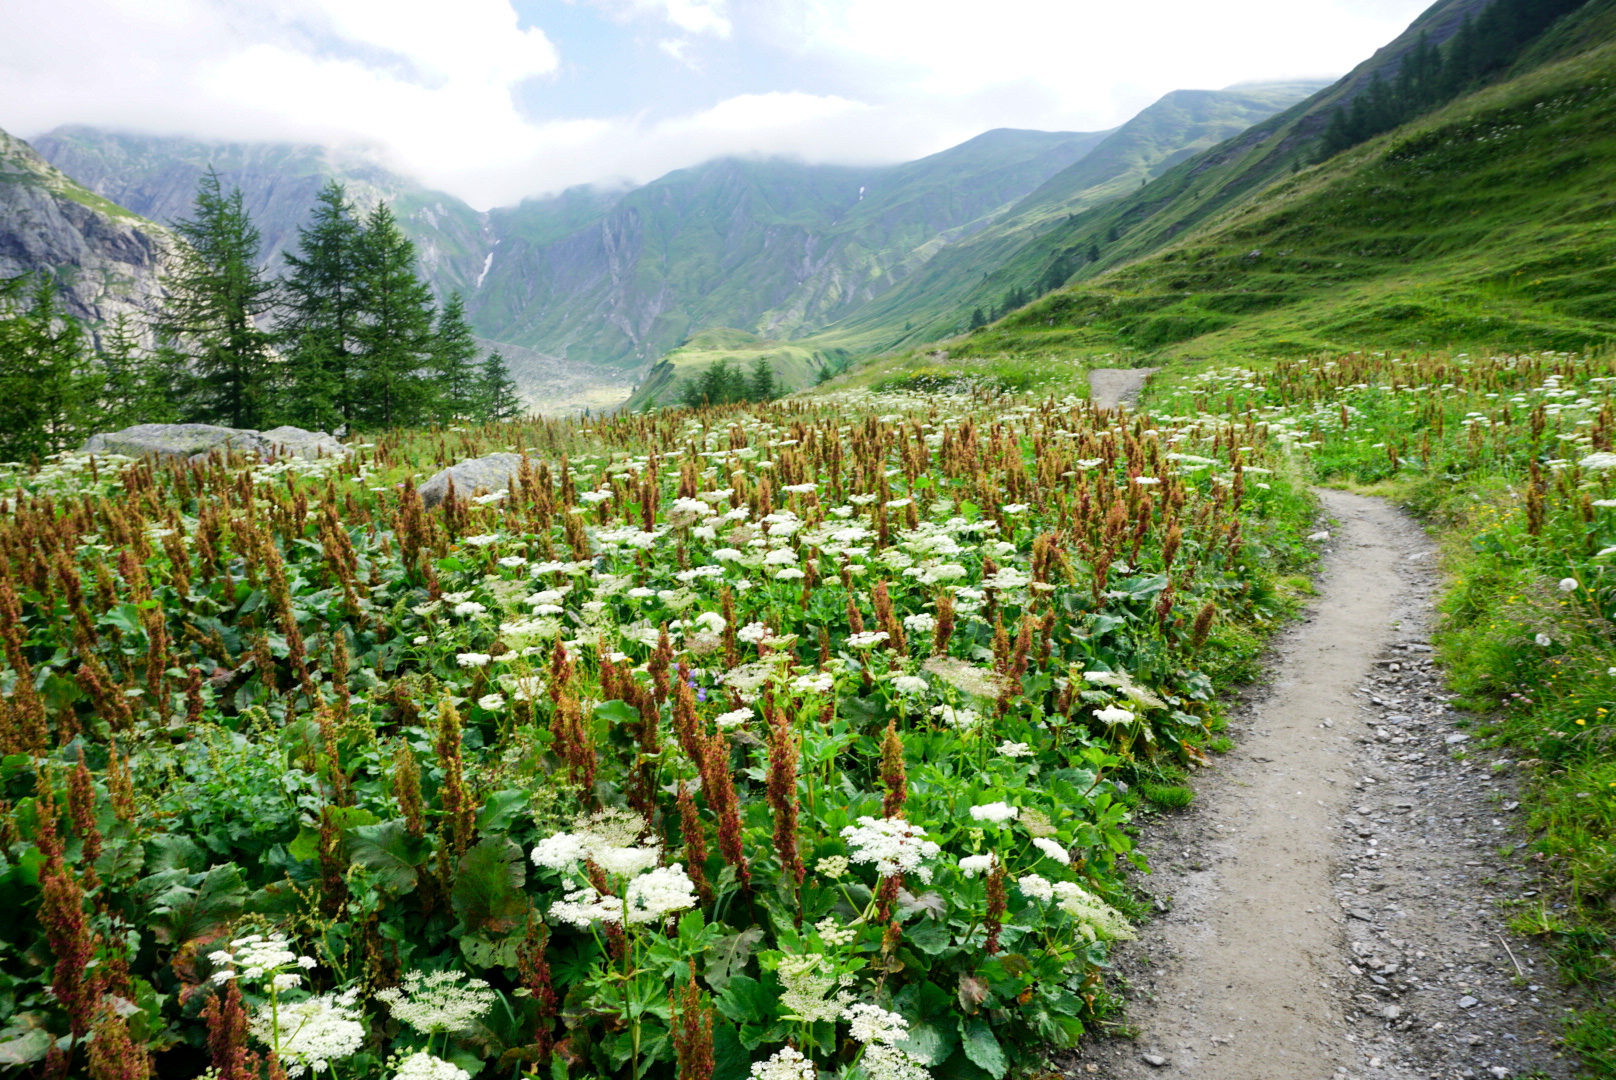
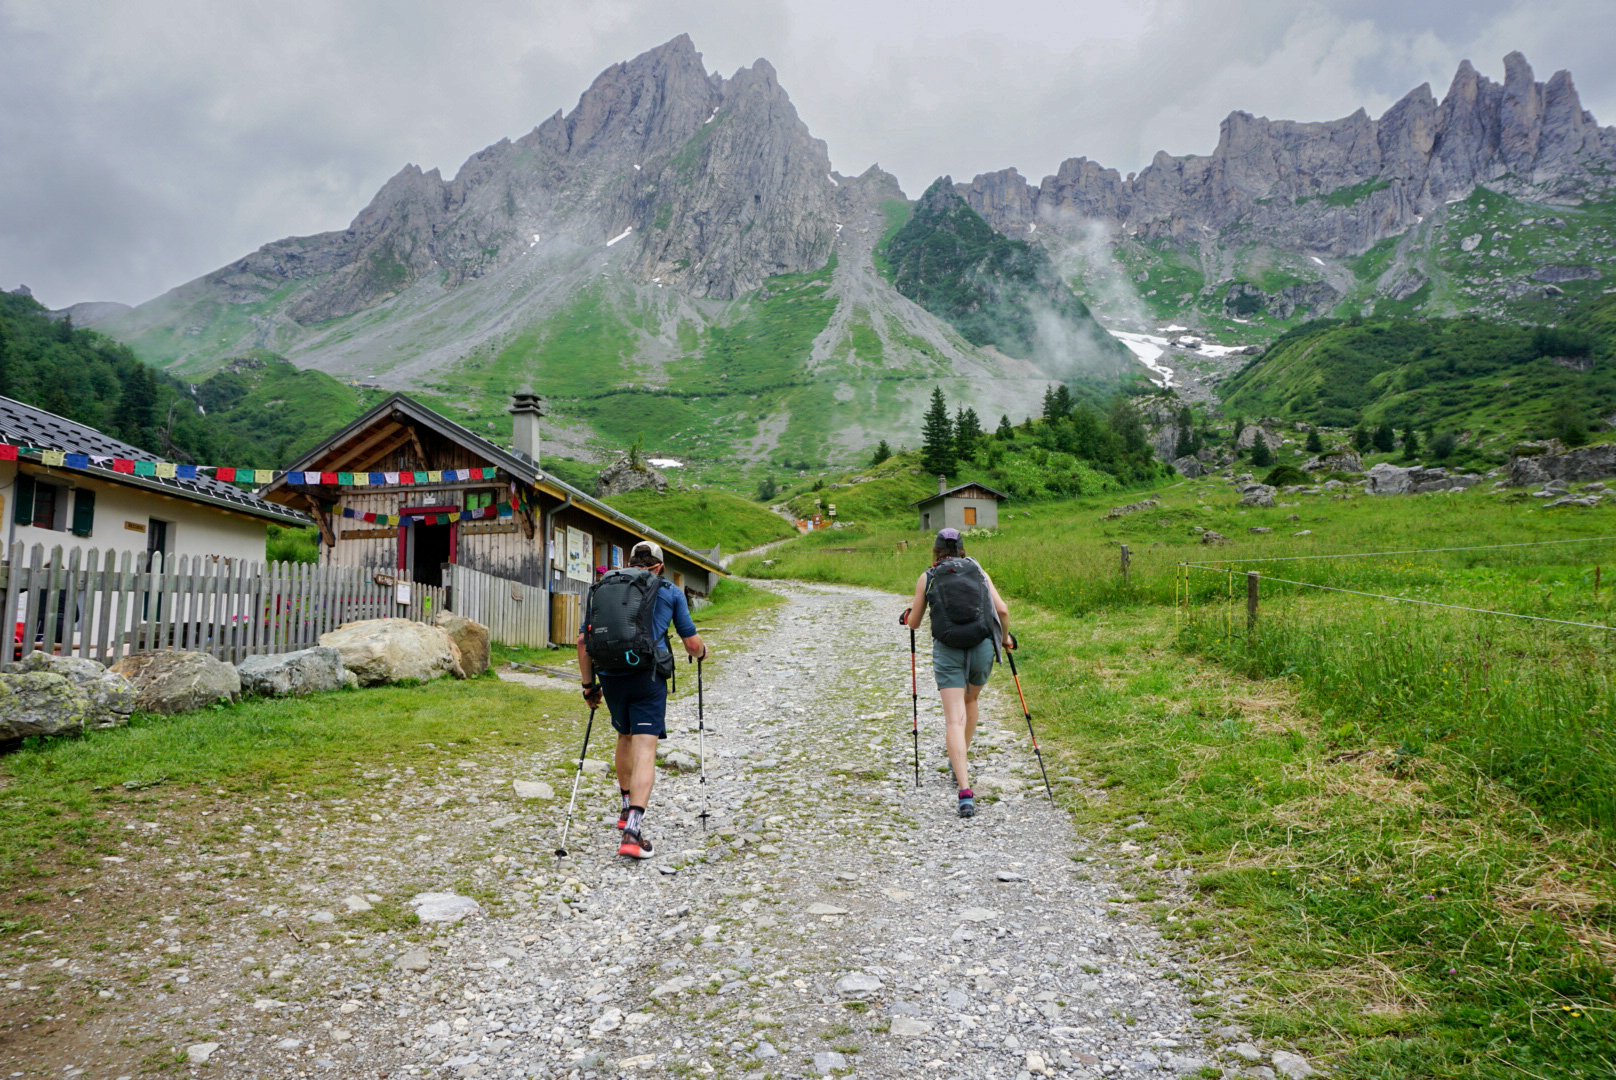
Day 4: This day has a lot of variants. Right at the beginning of the day, you have to make the decision to take the variant known for being one of the most scenic (Variante de la Fenêtre d’Arpette) or the slightly longer, but easier standard route. Even with semi-rested legs, we opted for the standard route as the forecast called for clouds and rain, so there was a small chance we’d even get to see any views. From there, you still have several options to get to your refuge. We ended up taking two variants (Variante des Grands and Variante du Tour) instead of the standard route. There is another variant we would have loved to take called Variante de Vallorcine, but we didn’t have the energy for it.

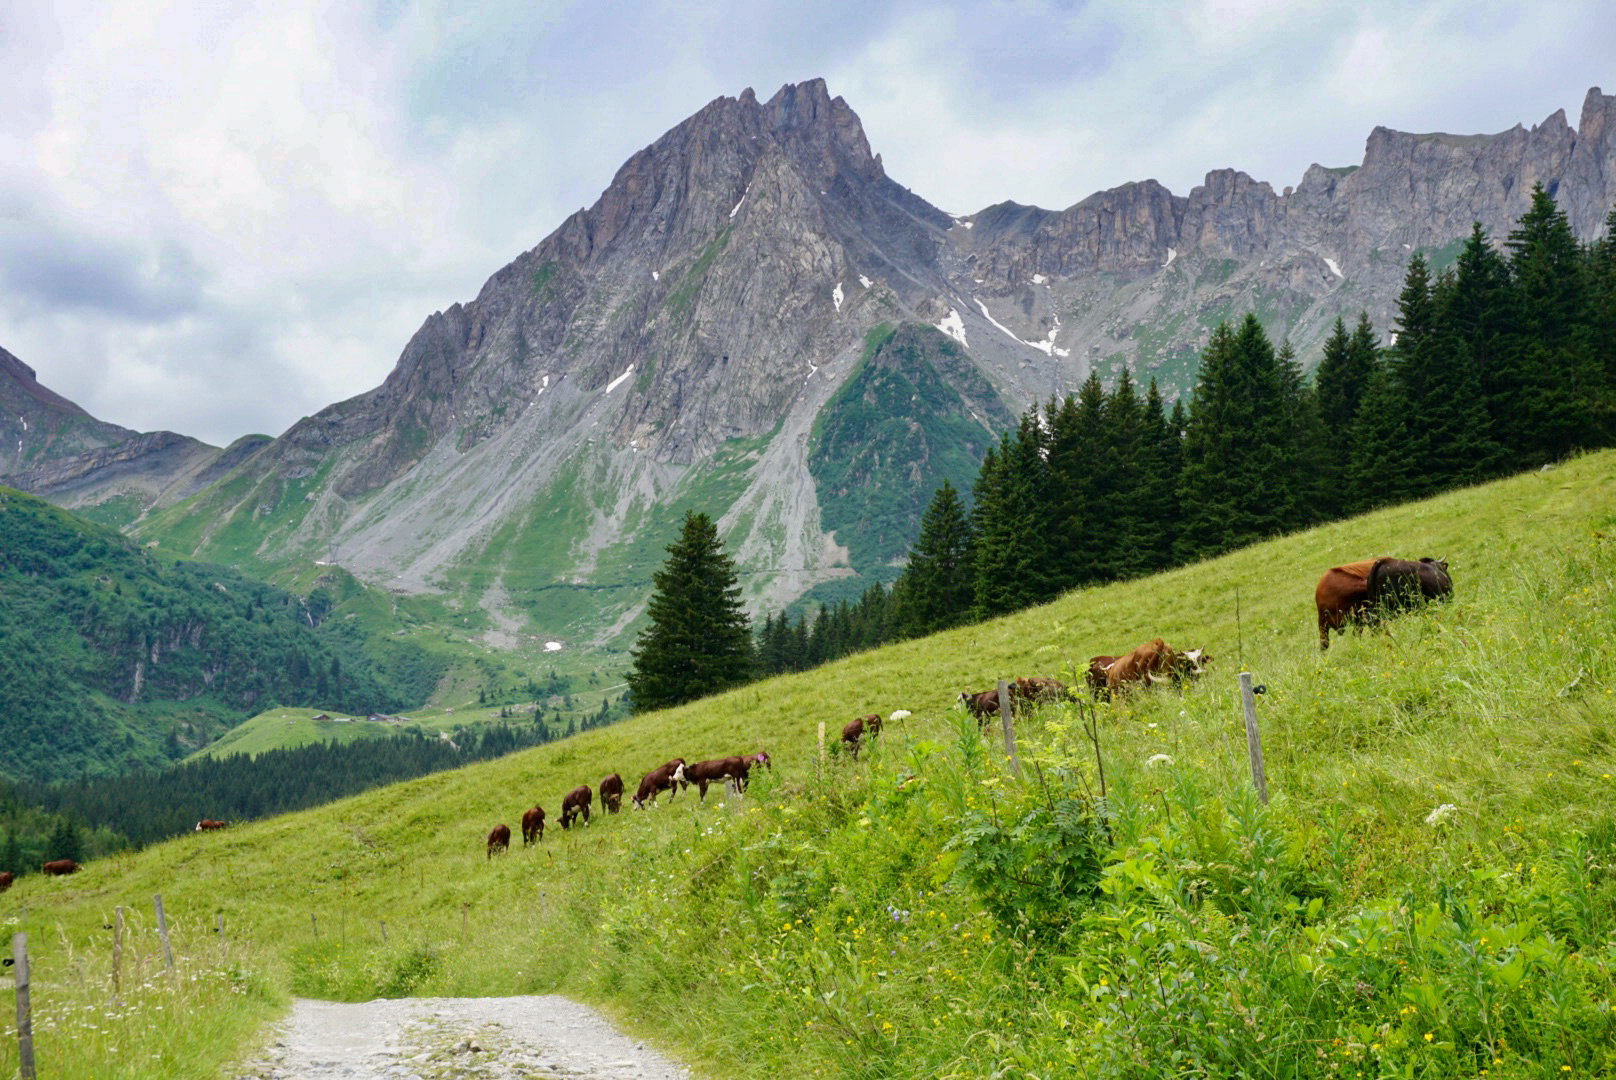
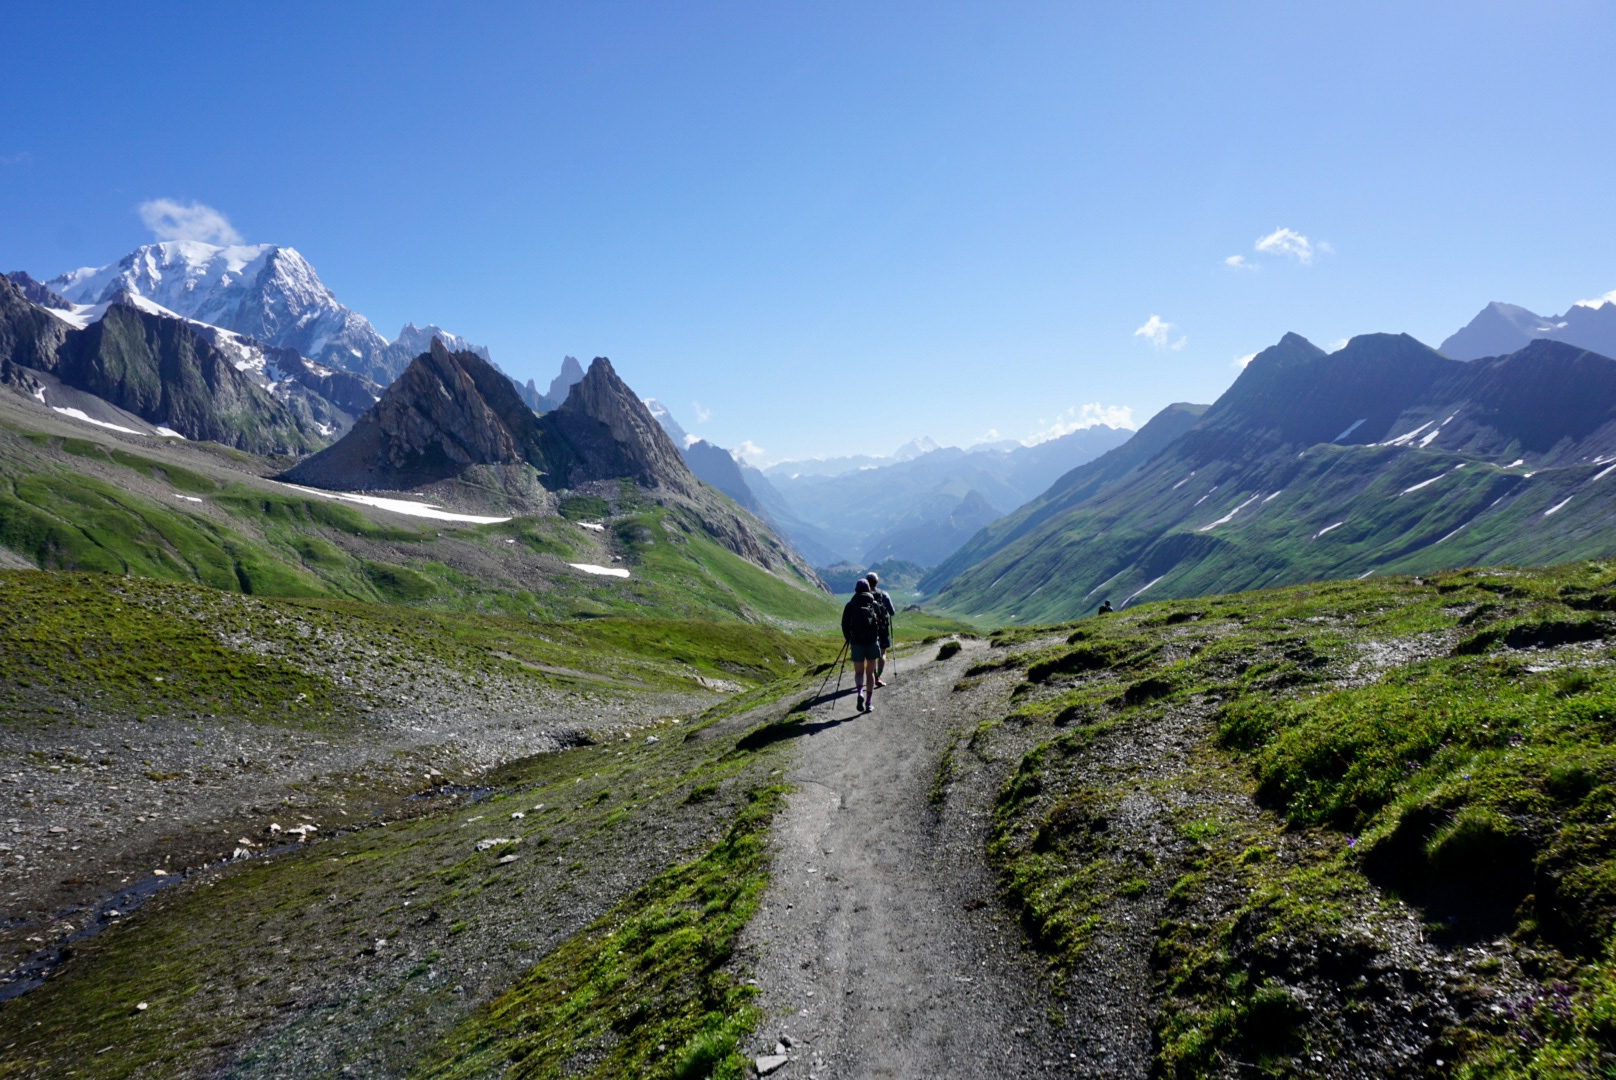
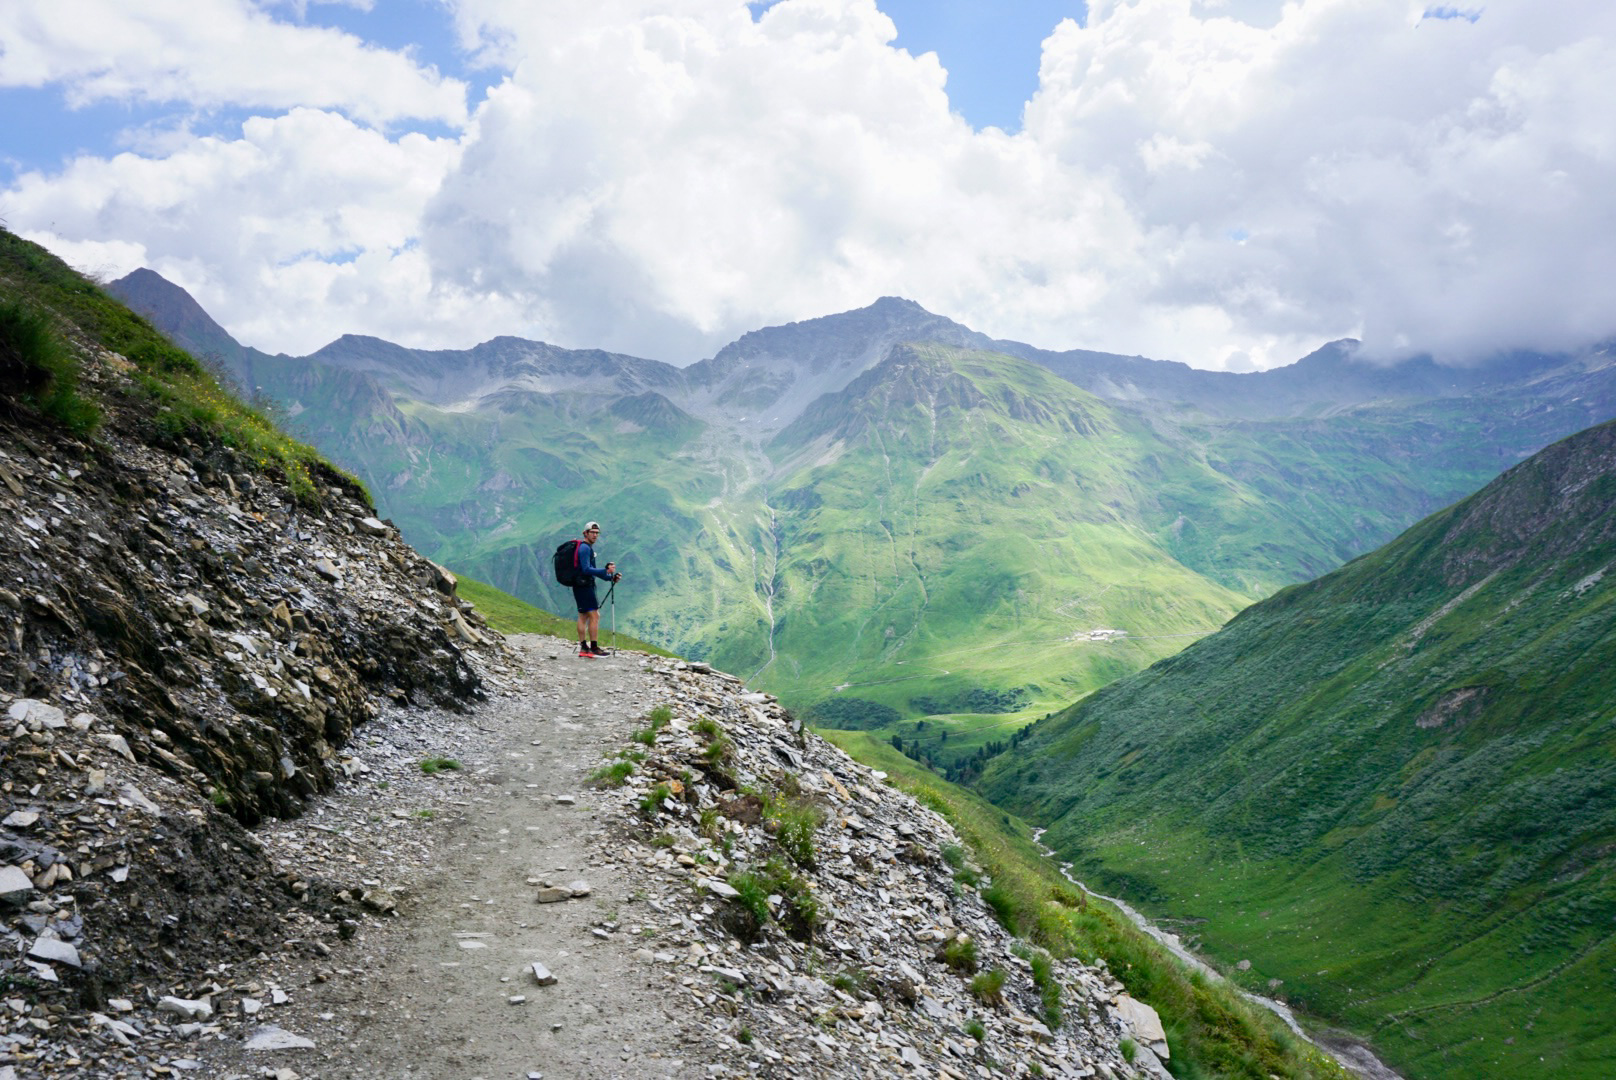
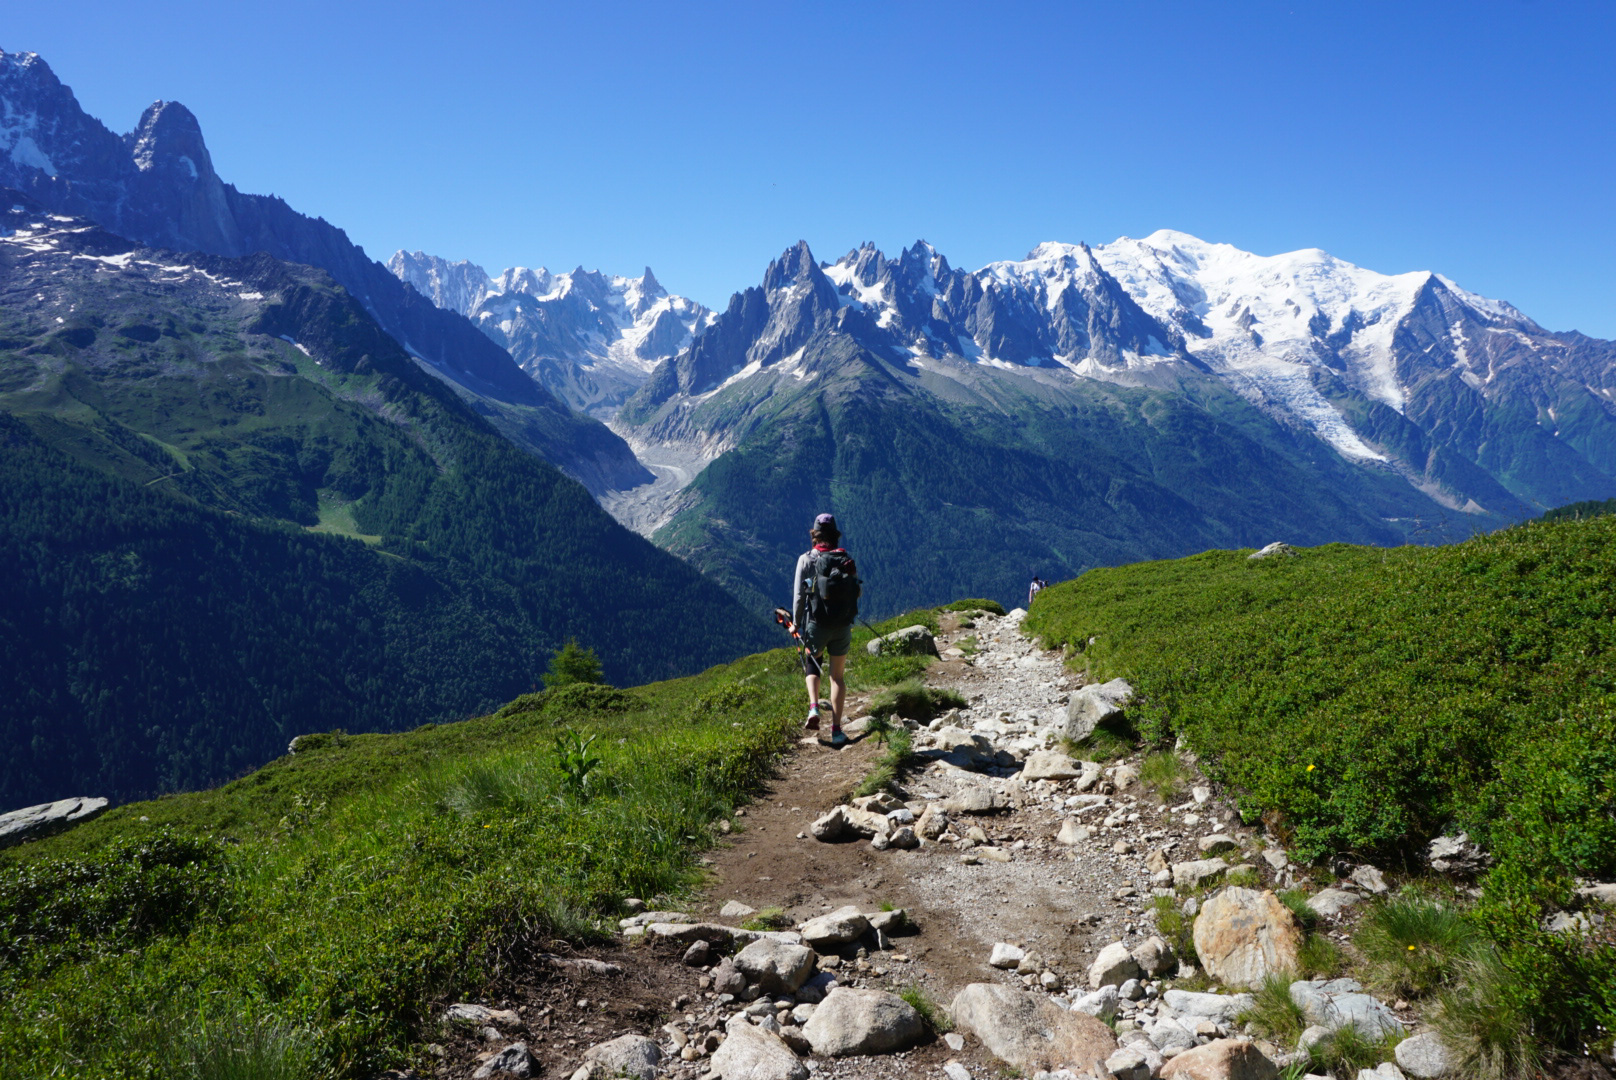
Day 5: This day has stunning views, so I hope you have a bluebird day like we did. You’ll have amazing views of the Chamonix valley and Mont Blanc pretty much the entire day. Even though it’s the lowest mileage day in the trip, don’t underestimate it. There’s a significant loss of elevation in the last six miles. If your knees are struggling, it will take you a while to get down off the last pass. Fair warning, it’s incredibly steep for a longer time than you want it to be.
Planning
We booked the refuges at the end of February before we booked our flights. We read online that February is typically when you want to book to make sure there’s still availability. Our dates were June 28 to July 2, so we were early in the season. These dates worked out for us because 2022 ended up being a very low snow year so we didn’t have any issues with the trail being too snowy to pass. We also were lucky that we got the last spot for Bonnatti.
The official Tour Du Mont Blanc website is where we booked almost all of the refuges. It’s not the most user-friendly experience, but we can confirm that our reservations went through. We had to reserve Bonnatti via email, as they are not on the website. I highly recommend looking at the Caltopo GPX track as they do have the refuges on the map. I can’t guarantee that all of them are there, but it gives the best idea of where they are, and you can start doing some tracking of your own to figure out the mileage and elevation between refuges.
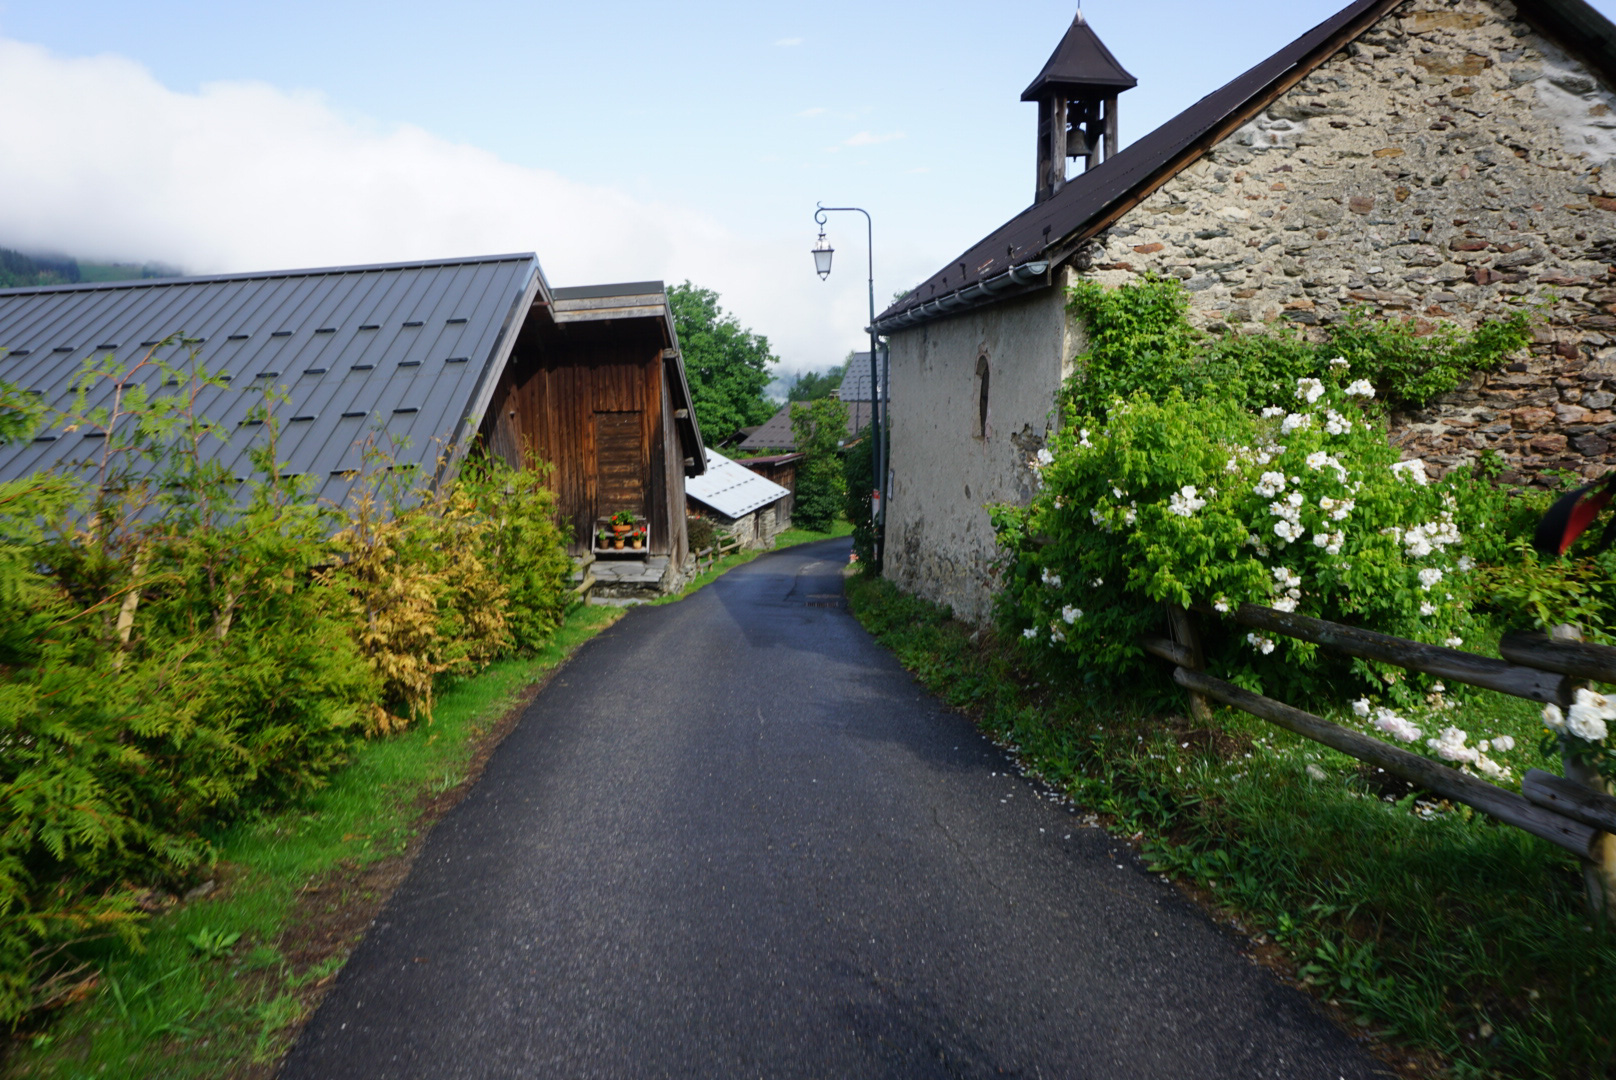
Les Houches is the classic starting point for the trek, but you can start anywhere, so if you’re struggling to book the refuges for certain dates, you can start somewhere else but be aware that you might struggle to find long-term parking.
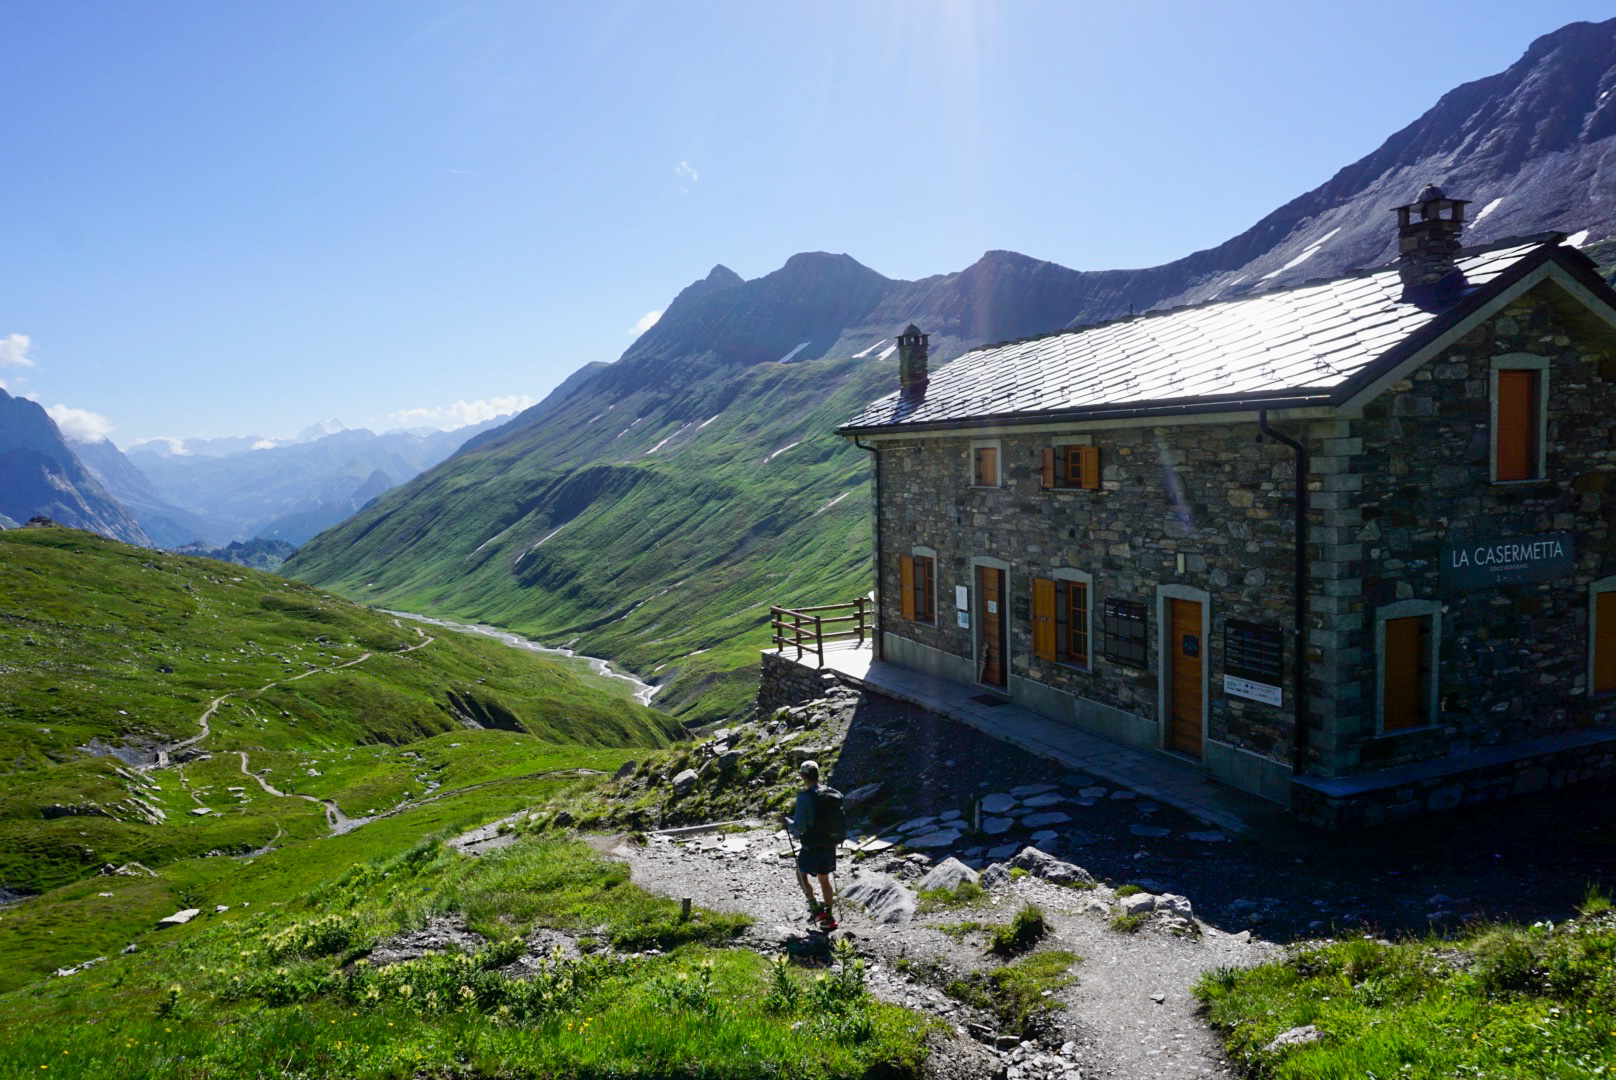
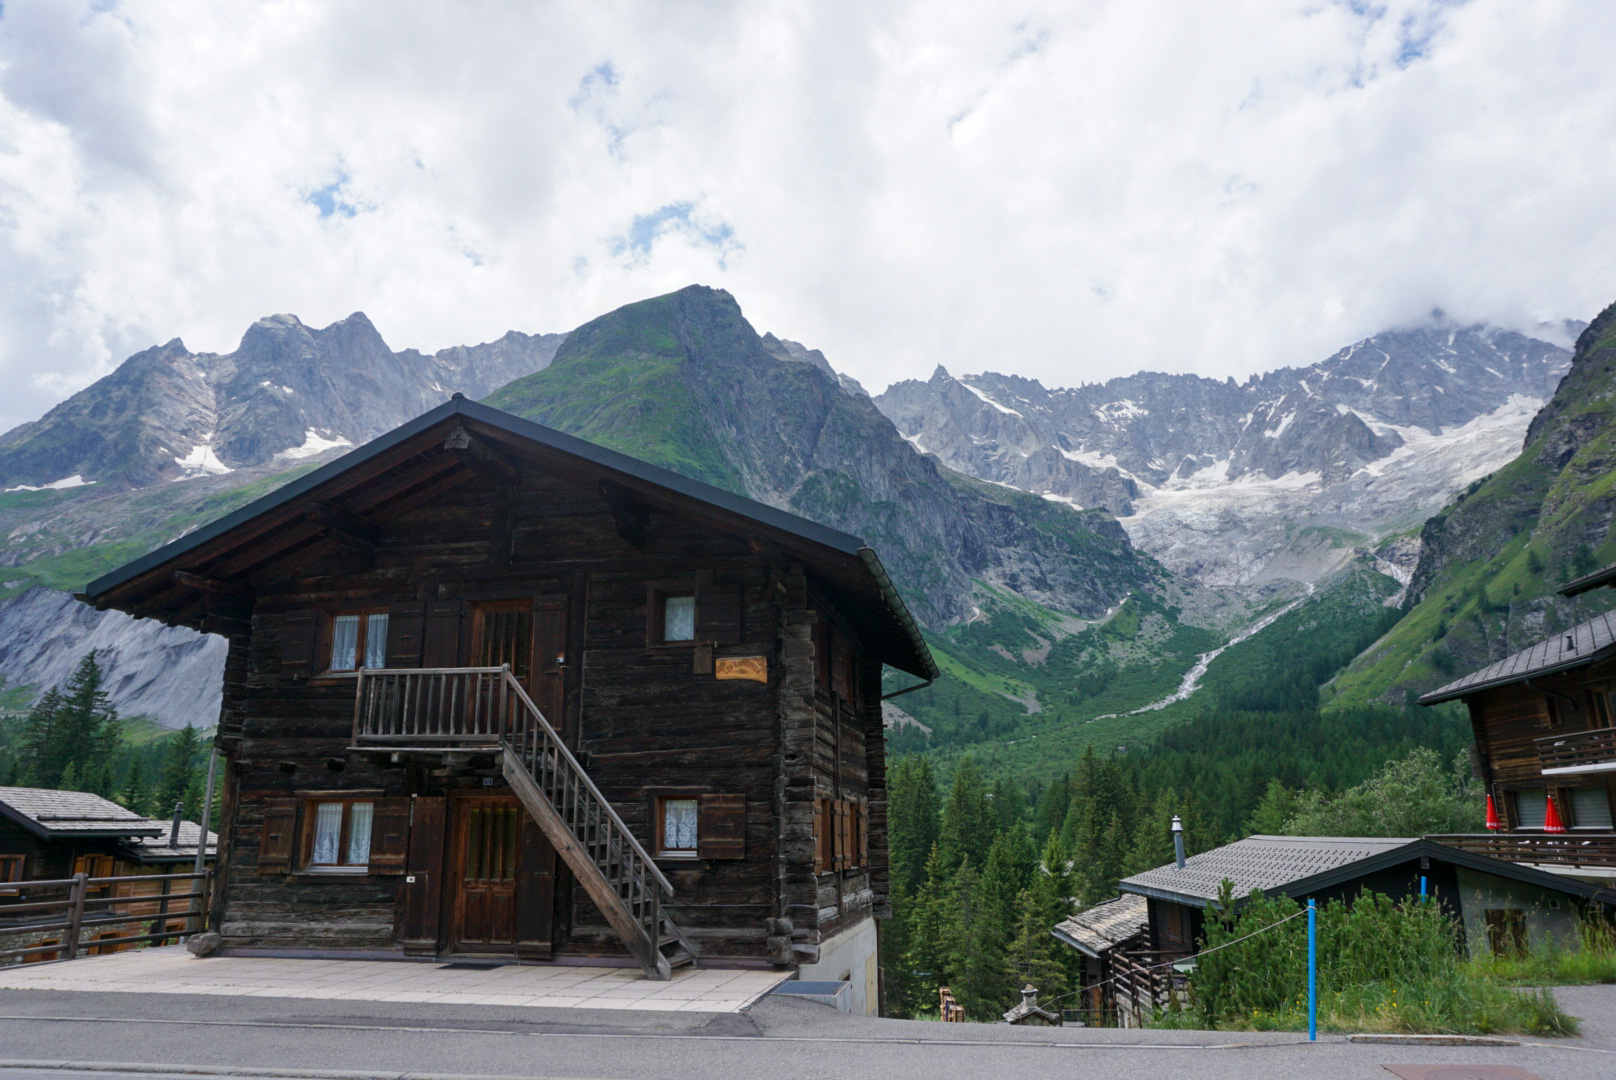
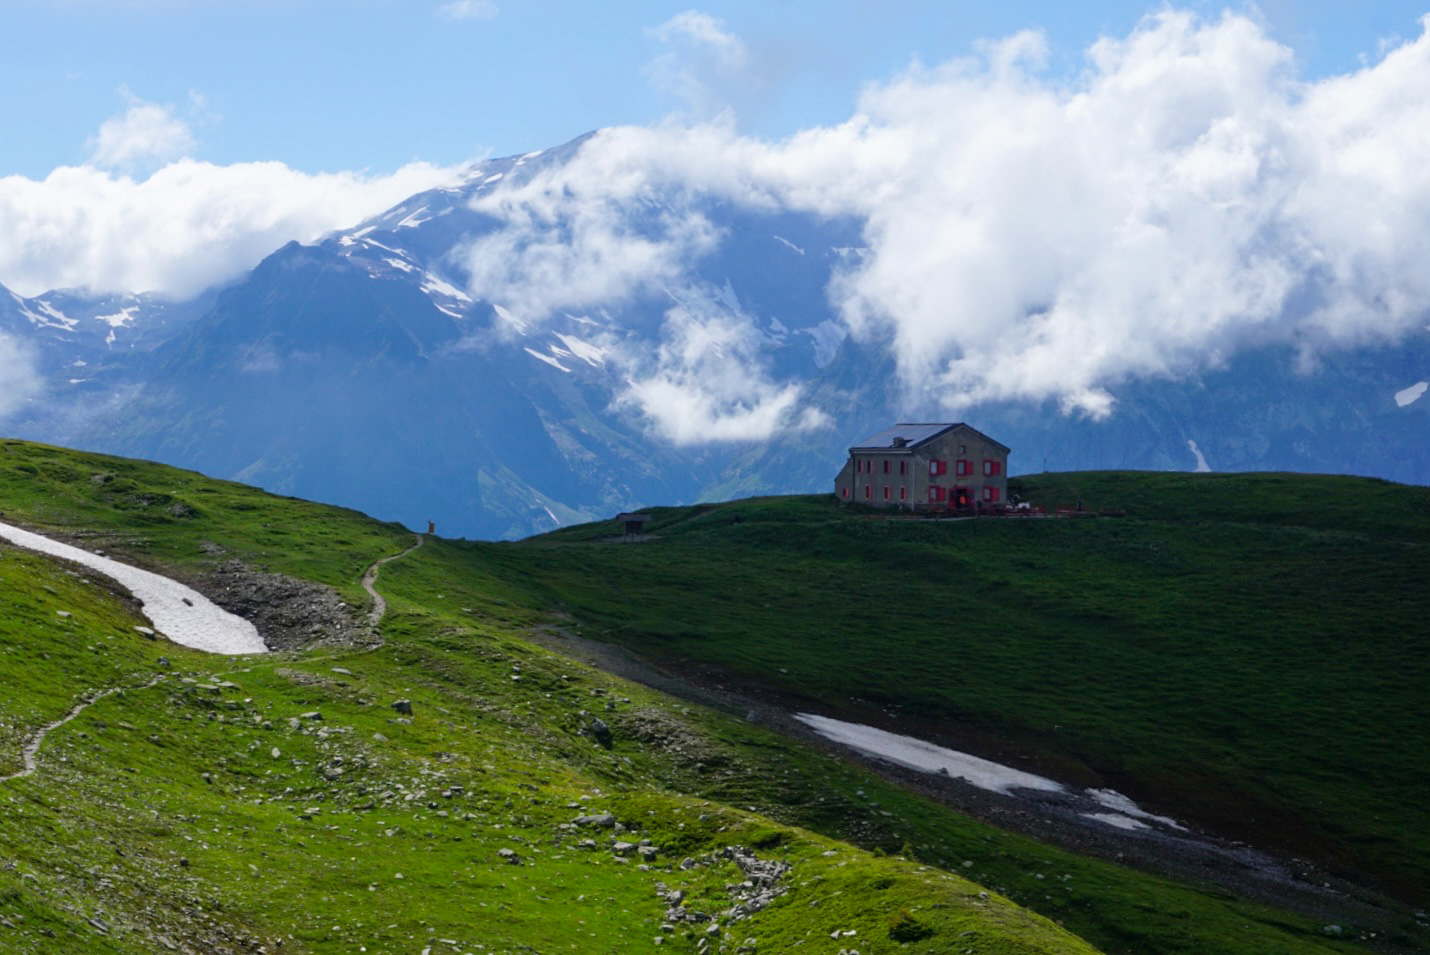
Our refuges were considered to be a few of the best, particularly Bonnatti. We would recommend trying your best to stay there! I also enjoyed the food at Le Moulin the most — the French bread and dessert were amazing.
Logistics
We flew in to Zurich and drove to Les Houches. We did lose luggage on the way in, so that delayed us a few hours and we had to stop by a store to buy gear for one person. While we arrived at 3:00pm in Zurich, we ended up not making it to Les Houches until 9:45pm, despite it being a 3.5 hour drive.
After waking up and eating breakfast, we parked the car in the Le Prarion parking lot (a 10 minute walk from the Bellevue lift and free for 10 days) the next morning. We pulled money from the ATM, grabbed a sandwich at the bakery for lunch, and tried to get on the first gondola ride at 8:00am. While we got to the Bellevue lift around 7:45am, we ended up on the second lift up and started on the trail around 8:30am.
We all ended up pulling about 300 Euros from the ATM in Les Houches to cover the costs of the refuges. It’s more expensive to pull Euros in Switzerland, so keep that in mind if you do fly in there. For each refuge, we only paid a reservation fee ahead of time, not the entire charge. A few refuges will let you pay with card, but we ended up using the money we pulled. The ‘tourist tax’ that they mention in the reservation is 1 to 3 Euros per person. We got lunches at each refuge (except the first) which cost between 10 to 14 Euros. We ended up pulling 200 more Euros in Courmayeur because we realized we hadn’t accounted for lunches.
Food
We ate many bars and way too much Gu that we brought in from the states and big breakfasts, lunches, and dinners that were provided by the refuges. You’re served similar styles of food, with some being more impressive than others. Dinners are three-course meals. The picnics are definitely worth it, but also take up a bit of space in your pack, so make sure that you save room.
Each of the refuges was easily able to accommodate vegetarian meals for me. We just told them at dinner that I was a vegetarian and I often received a different meal if the main one wasn’t vegetarian. If you are lactose intolerant, the Swiss meal was fondue for us at Auberge Gite Bon Abri, so make sure to let them know that you have an allergy when you check in.
Gear
We ended up using several different packs ranging from 25-32 liters. I ended up needing to borrow some space in a friend’s pack to hold my sweater, so 25L didn’t quite cut it for me.
Here’s the packing list we used. I would highly recommend bringing a knee brace (someone will probably need it). Trekking poles are not optional. We also ended up using almost an entire bottle of Ibuprofen that we just put in a plastic bag.
I ended up paying for Caltopo (but another app like Gaia would also work) so that I had access to offline maps. I would recommend that several people have the GPX track uploaded on a downloaded map so that if you don’t have service, you can still find your way.
Fitness and training
The three of us all live in Colorado and are used to hiking at higher altitude than this trek. We all went trail running and did big hikes to prepare. I do have to say, we were pretty pleased with our fitness, as we never really had any problems on the uphill. We really only struggled to keep pace on the downhill because of worn knees.
Bonus advice
Make sure you have your breakfast and dinner times written down somewhere that you can access for each refuge!
I do wish we had the time to take it a little slower. It would be a more enjoyable trip and you don’t have to stress about weather as much if you have the ability to wait out certain windows during the day for the big passes.
We also weren’t able to take some of the more scenic variants because they were longer and harder, and our days were already too big. We had planned on taking two of the more scenic variants, but we were too wiped to add them into our itinerary.
We had a great time as a trio, and more people might slow down the pace. If you have the money, book yourself the private room if you can. We did book the private room for three nights, but the other two nights were a struggle with snoring people in our dorm.
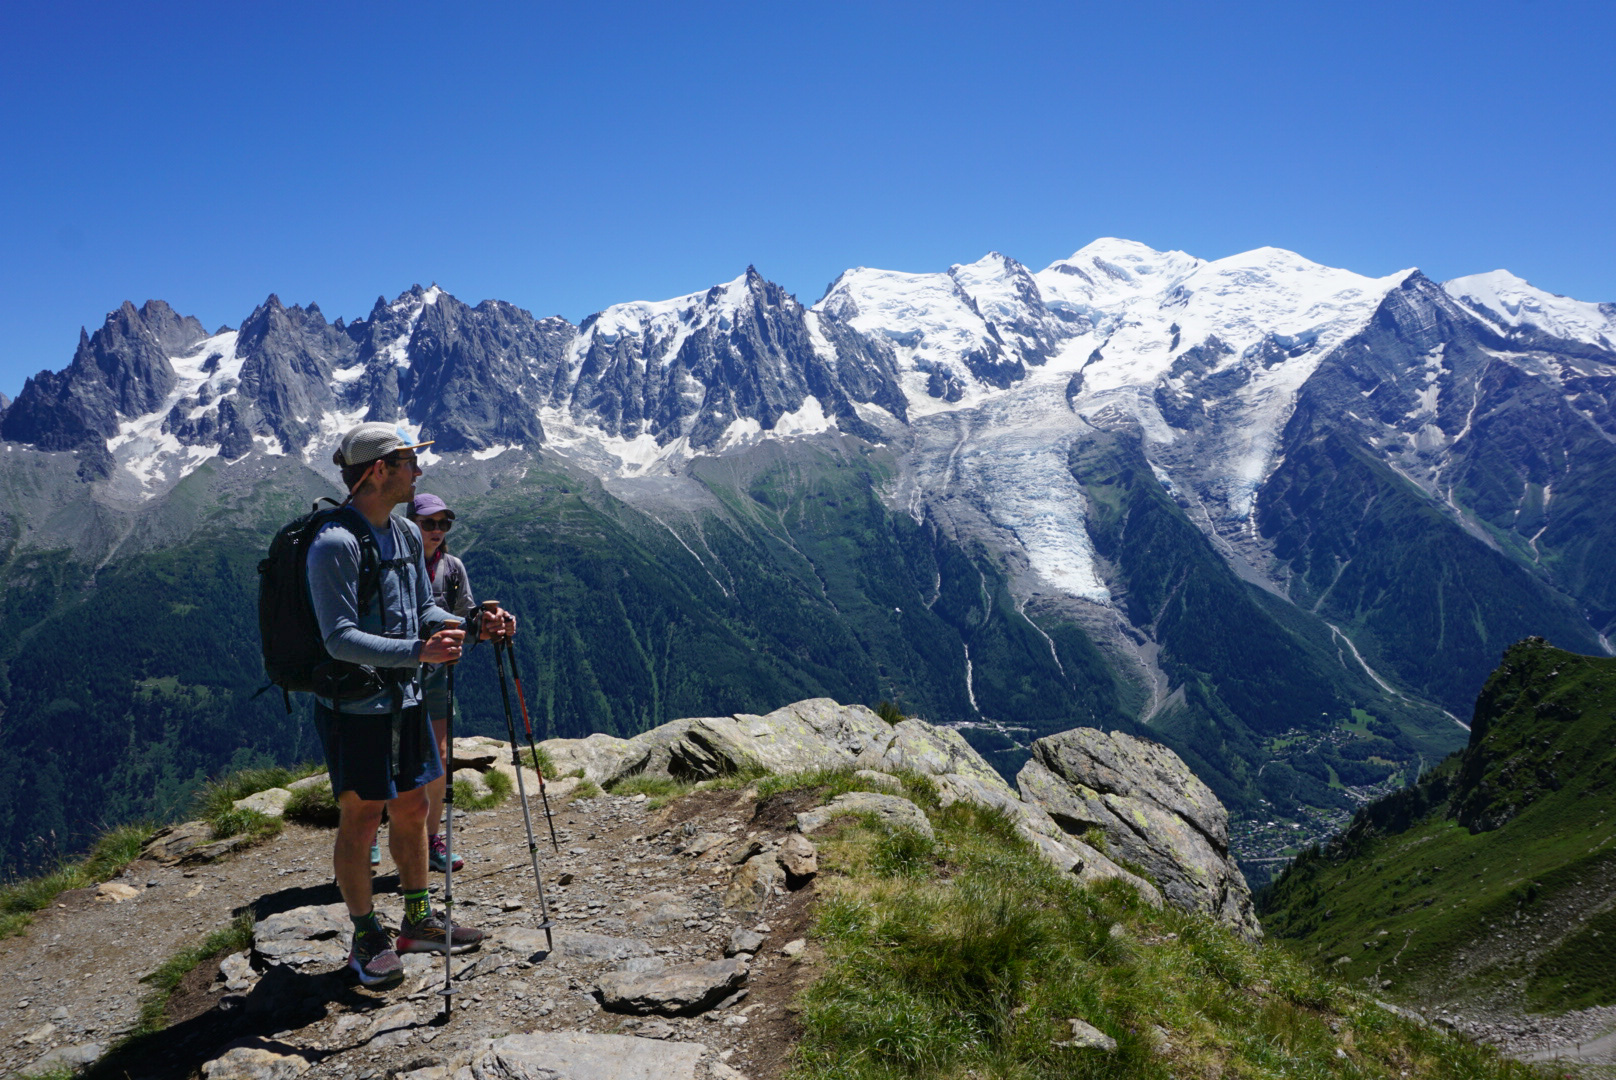
And don’t forget to enjoy the experience. Stop to take photos — because you can get caught up in making it in time for dinner. But at the end of the day, you’re doing it for the journey not the destination.
